
Org Security
Org Security is Cast AI's next-generation Security Report. Focus is shifted from a single cluster to an organization.
How to enable
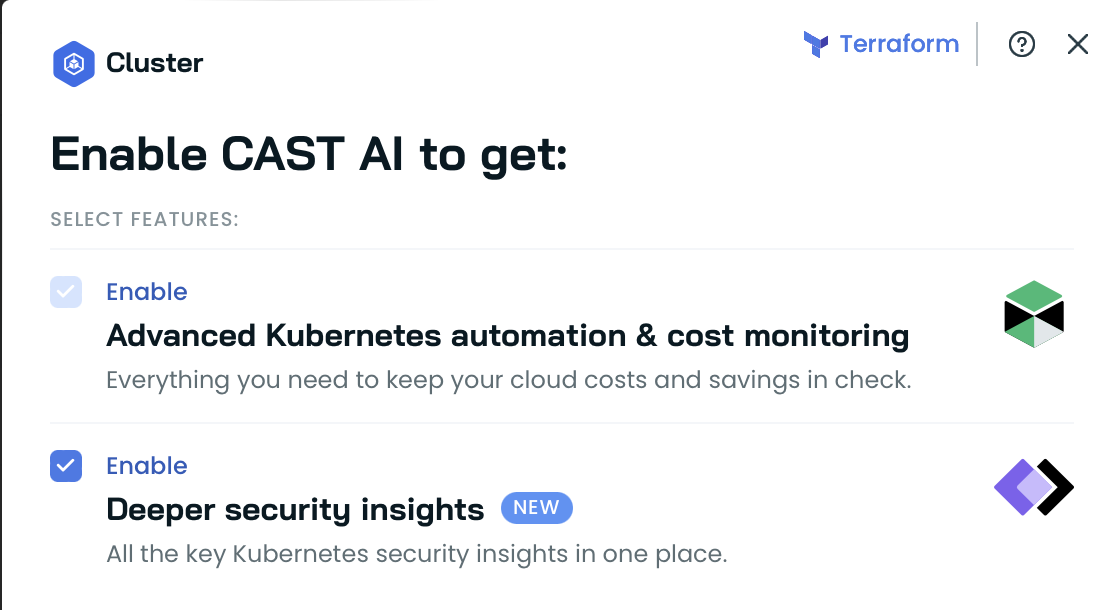
Org Security can be enabled by clicking on Enable CAST AI button in the top right corner after selecting a cluster:

and making sure thatDeeper security insights are enabled:
What's inside
Best practice
The Best Practice Checks available on the CAST AI platform allow you to evaluate your cluster's security posture in comparison to the industry and DevOps best practices. These checks have been designed with the aim of ensuring that all your resources comply with the security and operational standards set by Kubernetes as per CAST AI or CIS for Kubernetes benchmarks.
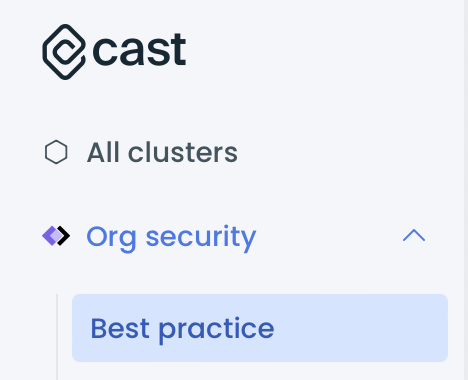
Best practice can be accessed from the top left corner of the page Org security > Best practice:
When you open the page, you will be presented with a list of security checks. The list will provide you with information on the number of resources and clusters that violate these best practices and the severity level of each check. The severity level of the checks is identified using the CVSS scoring system.
When you click on a check, a drawer will open on the right side of the window. This drawer will contain various information related to the check, such as its description, severity, remediation procedure, the number of affected resources, configurations associated with the check, and other relevant details.
Exceptions
The Best Practice exceptions feature allows you to exclude resources that do not comply with the best practice; however, you are willing to accept or remove the risk from the reporting.
To exclude specific resources, follow the steps below:
- Click on the check that you are interested in.
- Click on the
Exceptionsbutton located on the top left corner of the drawer. A new drawer will appear, displaying settings that allow you to exclude the check from specific clusters based on a defined condition on the right. If you only want to exclude a single resource, select the location of the resource, its name, and, optionally, its kind. You can create as many exception rules as you need. - Once you created the exception rules, review the impacted resources in the table below Summary of resources that will be excepted:.
- If you are satisfied with the result, push the
Applybutton.
You can now revise the excluded resources by selecting the Excluded value in the Resources filter in the Affected resources tab.
To remove exclusions, follow the steps below:
- Click on the check that you are interested in.
- Click on the
Exceptionsbutton located on the top left corner of the drawer. A new drawer will appear, displaying exception rules applied to the check. - Modify or remove the rules as you need.
- Once you modified the exception rules, review them in the table below Summary of resources that will be excepted:.
- If you are satisfied with the result, push the
Applybutton.
Image security
Image security can be accessed from the top left corner of the page: Org security > Image security.
After opening the page, you will see a list of images an organization uses in its clusters and statistics related to the list.
To filter the images you want, you can use a filter located above the list. This filter can be applied based on the image location, such as cluster or namespace, or by resource labels. Once the filter is applied, the statistics view will be updated to reflect the statistics for the selected scope.
Image repositories list
The image repositories list is a list of images an organization uses in its clusters. The images are grouped into repositories based on their name. Each repository contains all the images that share the same name but have different tags and/or digests.
The view displays vulnerability details, the number of clusters and running resources where the image is found, and the tag of the latest scanned image.
Image details
To view a specific image, click on the repository name and select the image digest from the drop-down menu to navigate between different versions.
Under the selected image digest, you can find all associated tags, details, and status. There is an Image hierarchy section and two tabs below the digest: Vulnerabilities and Affected resources.
Image hierarchy
In the Image hierarchy section, you can see the base image used to create the image and the layers and commands used to build each layer. This information is helpful in identifying which layer introduced vulnerabilities and what steps can be taken to address them.
By default, all layers are selected. By selecting a particular layer, you can filter out any vulnerabilities or problematic packages that are specific to that layer.
It is possible that the Image hierarchy section may not include commands used to build a specific layer, depending on your build process. To fully utilize this feature, we recommend preserving image metadata during the image build process.
Vulnerabilities
The Vulnerabilities tab displays all detected image vulnerabilities and available fixes, sorted by CVSS score.
Packages
The Packages tab displays operating system and application-specific packages, providing information on identified vulnerabilities and available fixes.
Affected resources
The Affected Resources tab displays where the image is used and when the deployment using the image was first time created.
Exceptions
The Image Security Exceptions feature allows you to remove vulnerabilities and image repositories from the repository list.
Image repository exceptions
The Image Security Exceptions feature allows you to remove the image repositories from the list view.
- Select the tickbox on the left of the image repository name. You can select multiple repositories at once.
- Click on the newly appeared
Except repositorybutton. - Enter the reason for the exception in the newly appeared drawer and push the exception button.
You can exclude the repository through the Image details view.
- Select
Except repositorybutton in the upper right corner of the screen. - Enter the reason for the exception in the newly appeared drawer and push the exception button.
When a repository is marked as an exception, it is moved to the Excepted view. This means that the repository will no longer appear in the image repository list, and the statistics section will be updated accordingly. In the Excepted repositories view, you will find an identical list of repositories, but it will only include the excepted ones.
The main difference between the Active and Excepted image views is that the Excepted image details contain two additional fields: REASON and EXCEPTION SET ON.
To remove exceptions, navigate to the Excepted repositories list, which can be found in the upper right corner of the screen. From the view:
- Select the tickbox on the left of the image repository name. You can select multiple repositories at once.
- Click on the newly appeared
Cancel exceptionbutton. - Enter the reason for the exception in the newly appeared drawer and push the exception button.
You can cancel the repository exception from the Image details view.
- Select the
Cancel exceptionbutton in the upper right corner of the screen. - Review the list of selected images in the newly opened drawer and press the
Cancel exceptionbutton.
Updated 3 months ago