
Installation & upgrading
WarningThe Cast AI Kubernetes Security feature set is undergoing significant changes. Some features shown in this documentation are being deprecated and others are moving to the cluster view in the console. Screenshots and navigation paths may not reflect the current product. Updated documentation is in progress.
This guide walks you through the process of installing and upgrading the Kvisor security agent in your Kubernetes clusters. Kvisor can be installed using various methods, including the Cast AI console UI, Terraform, or Helm.
Prerequisites
Before installing Kvisor, ensure you have:
- A Kubernetes cluster connected to Cast AI
- Appropriate permissions to create resources in your cluster
- Required tools for your chosen installation method (kubectl, helm, etc.)
Installation Methods
Cast AI console
The simplest way to install Kvisor is through the Cast AI console:
- Log in to the Cast AI console
- Navigate to Security > Settings
- Locate your cluster in the list and click on it to expand the security controls
- Copy the provided installation script and run it in your terminal or cloud shell
For more detailed instructions, see the Getting started with Security guide.
Terraform
If you manage your infrastructure as code, you can use our Terraform modules for GKE, EKS, and AKS to install Kvisor. Set the install_security_agent=true module input variable:
module "castai-eks-cluster" {
  // ...
  install_security_agent = true
}
For complete examples, see:
Helm
To install Kvisor using Helm, follow these steps:
- Add the Cast AI Helm repository:
helm repo add castai-helm https://castai.github.io/helm-charts
helm repo update- (Optional) List available components and versions:
helm search repo castai-helm
Which upgrade method to useThe Helm commands on this page use the umbrella chart (
castai-helm/castai) by default. If you need to use a different method:
- castctl: To upgrade all Cast AI components at once without managing Helm flags:
This preserves your existing configuration. See the castctl documentation for installation and authentication instructions.castctl castware upgrade- Individual charts: If you installed each component as a separate Helm release (e.g., for ArgoCD or custom GitOps), replace the release name and chart reference with the component-specific ones (e.g.,
castai-workload-autoscalerandcastai-helm/castai-workload-autoscaler) and remove theautoscaler.castai-workload-autoscaler.value prefix.Not sure which method you used? Run
helm list -n castai-agent. A single release namedcastaimeans umbrella chart; separate releases likecastai-workload-autoscalermean individual charts.
- Install the Kvisor security agent:
helm upgrade castai castai-helm/castai -n castai-agent \
  --reset-then-reuse-values \
  --set autoscaler.castai-kvisor.castai.apiKey=<your-api-token> \
  --set autoscaler.castai-kvisor.castai.clusterID=<your-cluster-id> \
  --set autoscaler.castai-kvisor.controller.extraArgs.kube-linter-enabled=true \
  --set autoscaler.castai-kvisor.controller.extraArgs.image-scan-enabled=true \
  --set autoscaler.castai-kvisor.controller.extraArgs.kube-bench-enabled=true \
  --set autoscaler.castai-kvisor.controller.extraArgs.cloud-provider=<aks|eks|gke>
Replace the placeholders with your actual values:
<your-api-token>: Your Cast AI API token<your-cluster-id>: Your cluster's ID in Cast AI<aks|eks|gke>: Your Kubernetes provider (leave empty if not using these platforms)
Upgrading Kvisor
Cast AI Console
The easiest way to keep Kvisor up to date is through the Component Control dashboard:
- In the Cast AI console, select Manage Organization in the top right
- Navigate to Component control in the left menu
- Find Kvisor in the component list
- For any cluster showing a warning status, click on the component to see details
- Click the Update button to get the upgrade script
- Copy and run the provided command in your terminal
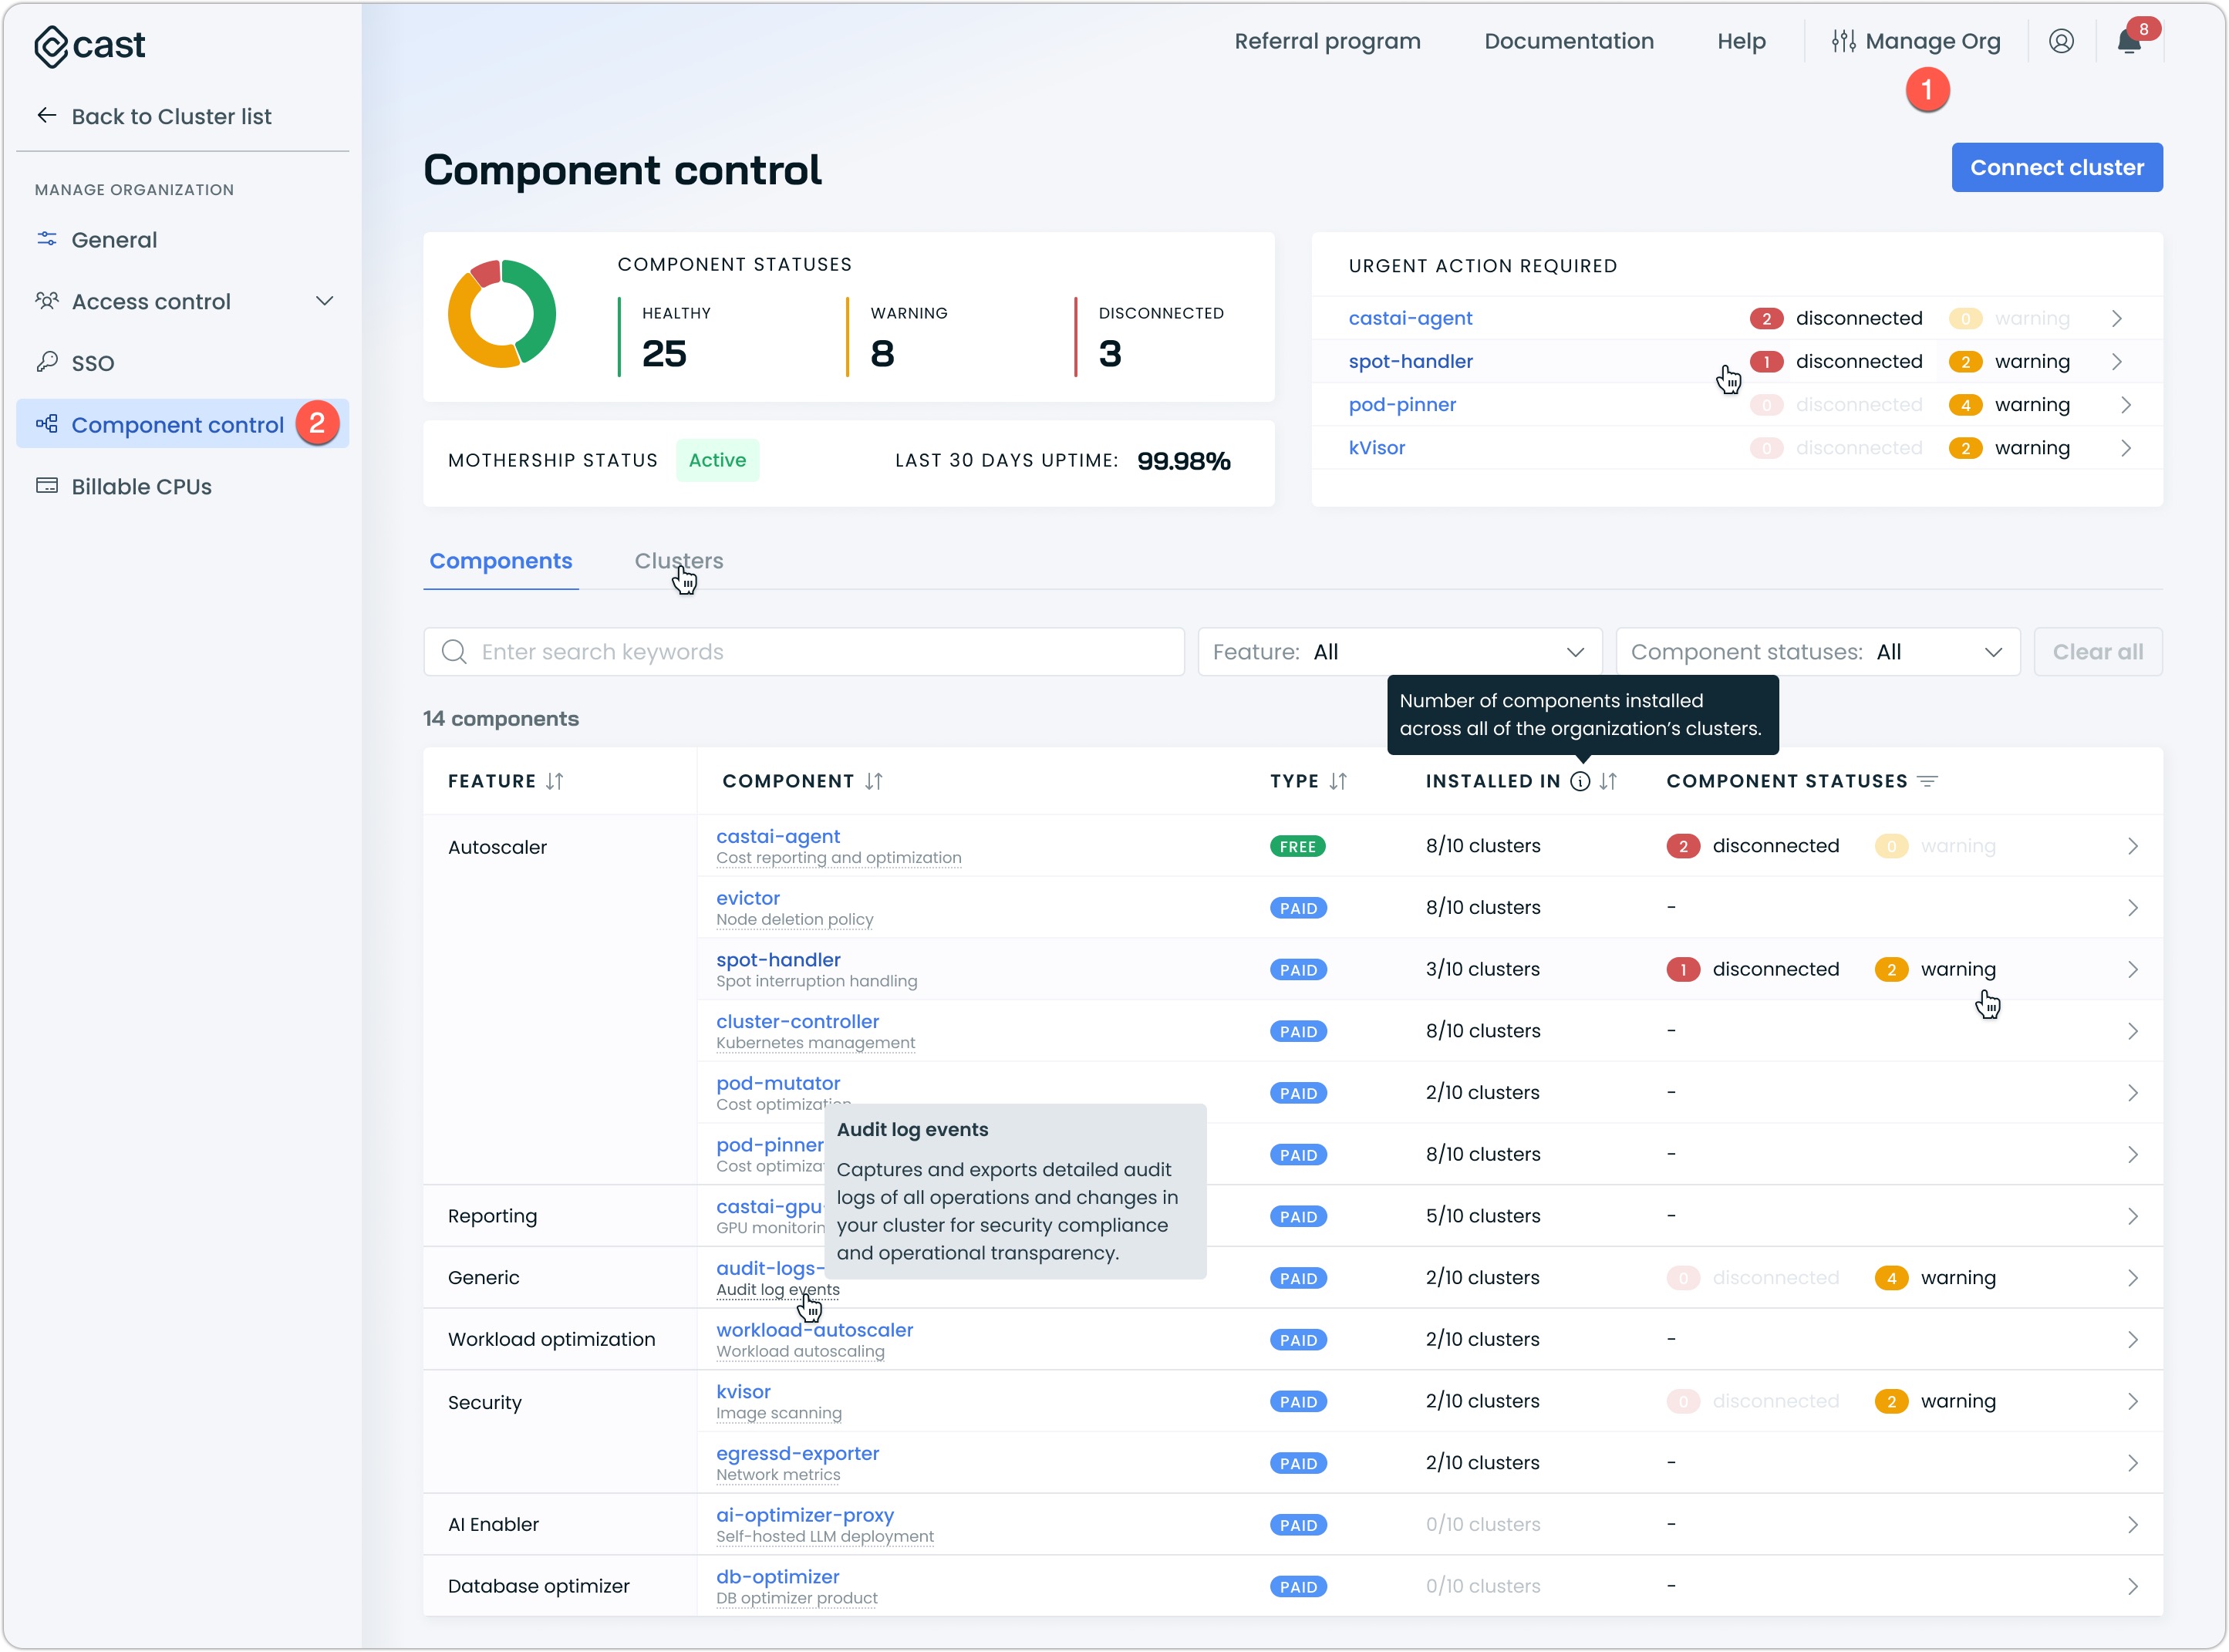
This approach ensures you're always running the latest version with all security updates and feature enhancements.
Helm
If you installed Kvisor with Helm, you can upgrade it with:
helm repo update castai-helm
helm upgrade castai castai-helm/castai -n castai-agent --reset-then-reuse-values
The --reset-then-reuse-values flag preserves your existing configuration while applying the latest updates.
Upgrading from v0.x.x to v1.x.x
The Kvisor v1 Helm chart contains breaking changes requiring a fresh installation. Follow these steps:
- Get your current Kvisor values:
helm get values castai -n castai-agent-
Note your
clusterID,apiKey, and kube-bench provider for use in the next step. -
Reinstall Kvisor with your values:
helm repo update castai-helm

helm upgrade castai castai-helm/castai -n castai-agent \
  --reset-then-reuse-values \
  --set autoscaler.castai-kvisor.castai.apiKey=<your-api-token> \
  --set autoscaler.castai-kvisor.castai.clusterID=<your-cluster-id> \
  --set autoscaler.castai-kvisor.controller.extraArgs.kube-linter-enabled=true \
  --set autoscaler.castai-kvisor.controller.extraArgs.image-scan-enabled=true \
  --set autoscaler.castai-kvisor.controller.extraArgs.kube-bench-enabled=true \
  --set autoscaler.castai-kvisor.controller.extraArgs.cloud-provider=<aks|eks|gke>
Troubleshooting
If you encounter issues with Kvisor installation or upgrades, try these troubleshooting steps:
Check the Kvisor controller logs
kubectl logs -l app.kubernetes.io/name=castai-kvisor-controller -n castai-agentCheck the Kvisor agent logs
kubectl logs -l app.kubernetes.io/name=castai-kvisor-agent -n castai-agentVerify your configuration
helm get values castai -n castai-agentCheck component status in the console
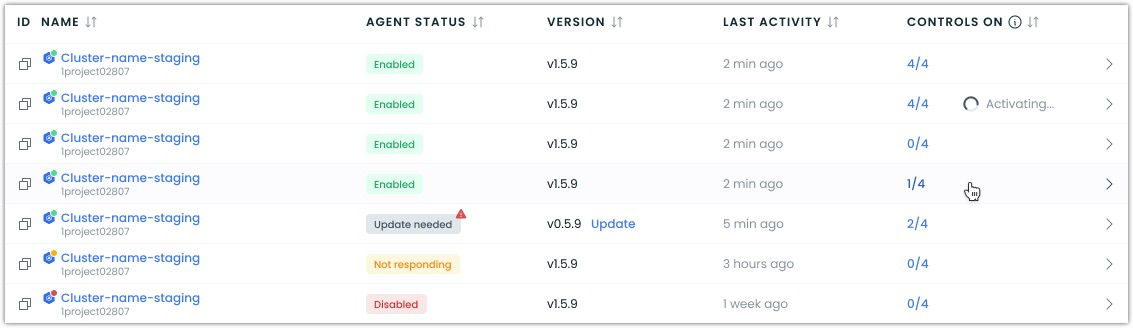
You can also verify the status of Kvisor in the Cast AI console by navigating to Security > Settings and checking the status indicators next to your cluster.
For additional assistance, contact Cast AI support or visit our community Slack channel.
Next Steps
Once you have Kvisor installed, you can configure various security features:
- Private Image Scanning - Configure access to private or managed container image registries
- Configuring Kvisor Features - Learn how to configure network monitoring, resource stats, and other features
- Runtime Security - Enable and configure runtime security monitoring