

Installing the agent for PostgreSQL
Performance Advisor collects its data through a lightweight agent that you deploy as a Kubernetes workload next to your PostgreSQL database. The agent observes your query workload and metadata through read-only access and feeds the recommendations shown in the console. For MySQL, see Installing the agent for MySQL.
Prerequisites
- PostgreSQL with the
pg_stat_statementsextension enabled. - A database user with read-only access to system catalogs and statistics.
- Helm and kubectl configured against the cluster where the agent will run.
Step 1: Enable the pg_stat_statements extension
Check whether the extension is already enabled:
SELECT * FROM pg_extension WHERE extname = 'pg_stat_statements';If it is not, create it as a superuser:
CREATE EXTENSION IF NOT EXISTS pg_stat_statements;Enabling it may require adding pg_stat_statements to shared_preload_libraries in your PostgreSQL configuration and restarting the database. On AWS RDS, set shared_preload_libraries via a parameter group and reboot the instance.
Step 2: Create a database user for the agent
CREATE USER index_advisor_agent WITH PASSWORD 'your_secure_password_here';
GRANT pg_read_all_stats TO index_advisor_agent;
The pg_read_all_stats role gives the agent access to the query statistics views without any write privileges.
Step 3: Enable Performance Advisor in the console
-
On the organization Overview, click Enable database optimizer on the instance's row (Not onboarded tab).
-
In the Enable Database optimization dialog, confirm Performance advisor is ticked under Optimization features. It is pre-selected and marked Recommended.
-
Under Run script below, choose how to install:
- Helm: download the provided
values.yaml, add your database connection details and credentials, and run the generatedhelm upgrade --installcommand. - Script: copy the
curlcommand and run it as-is. It asks for a read-only database user's Username and Password. Credentials are shown once and not stored.
- Helm: download the provided
-
Finish with I ran the script.
Your database must be onboarded to DBO first (see Getting started).
The Helm values.yaml
values.yamlThe downloadable values.yaml already contains your API key and organization ID in a db-agent: block:
db-agent:
  enabled: true
  apiKey: <your-api-key>
  apiURL: https://api.cast.ai
  nameOverride: ""
  organizationID: <your-organization-id>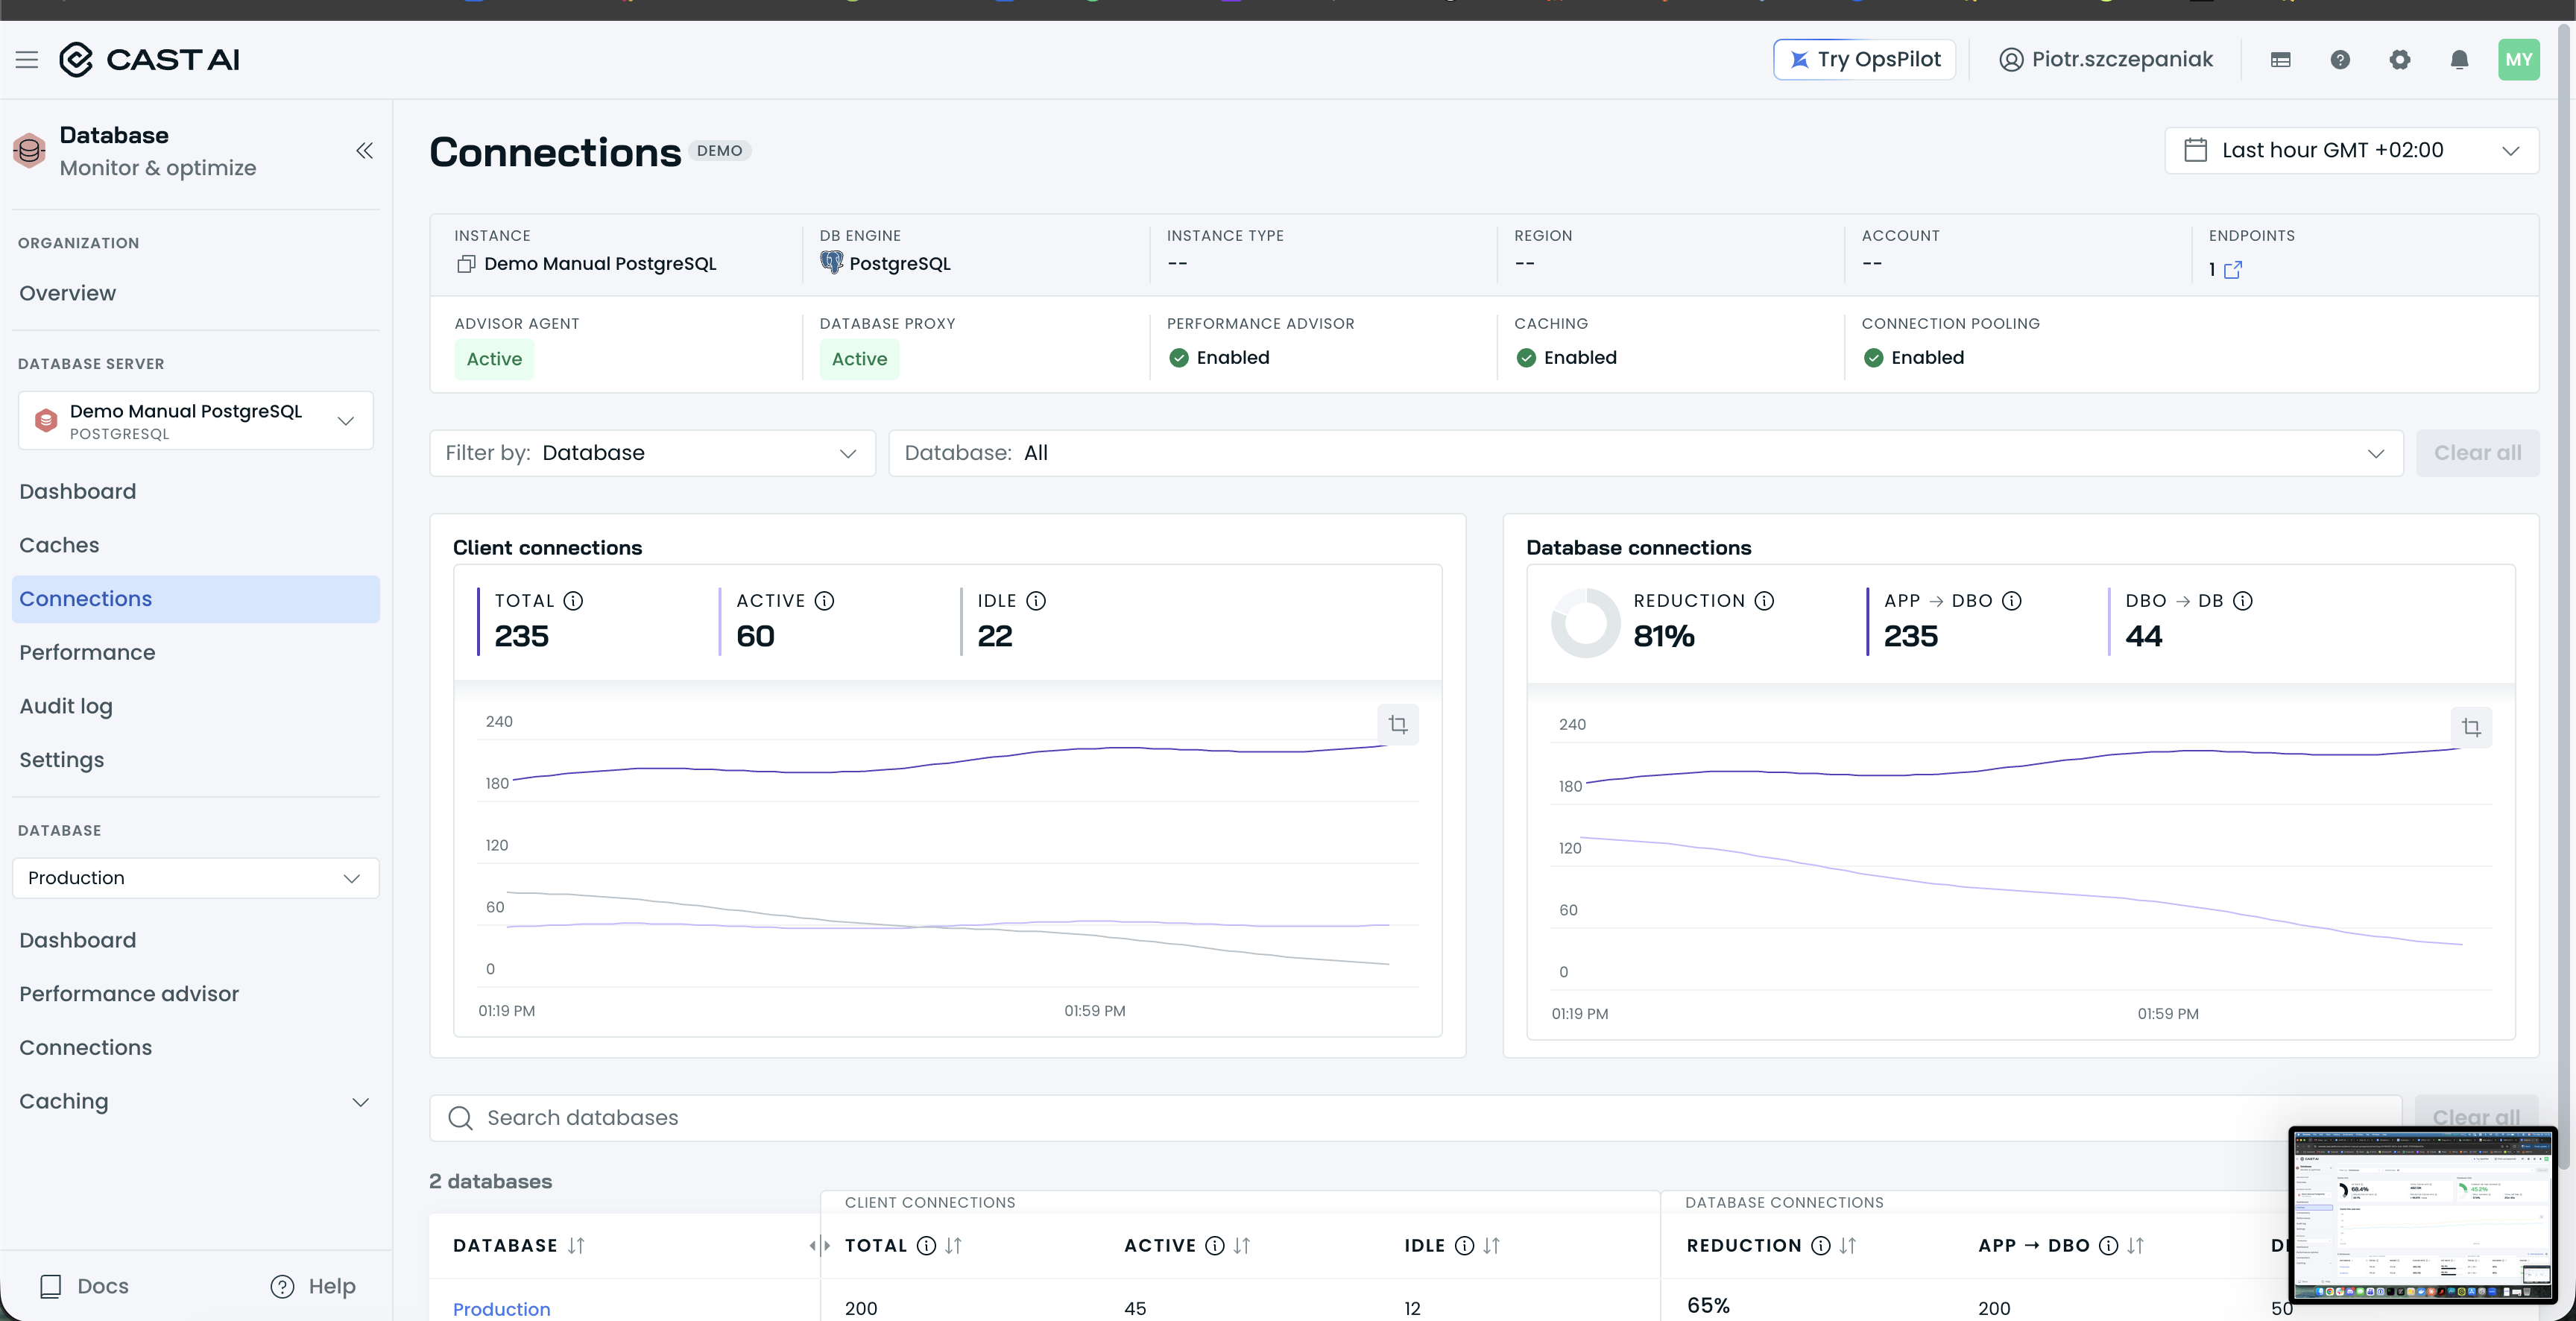
The Enable Database optimization dialog's Helm tab, with the Configure database permissions, Access repository, Customize values, and Install steps.
The Script tab is the copy-paste alternative, asking only for the read-only agent user's Username and Password:
The Enable Database optimization dialog's Script tab, with the Configure user permission and Install steps.
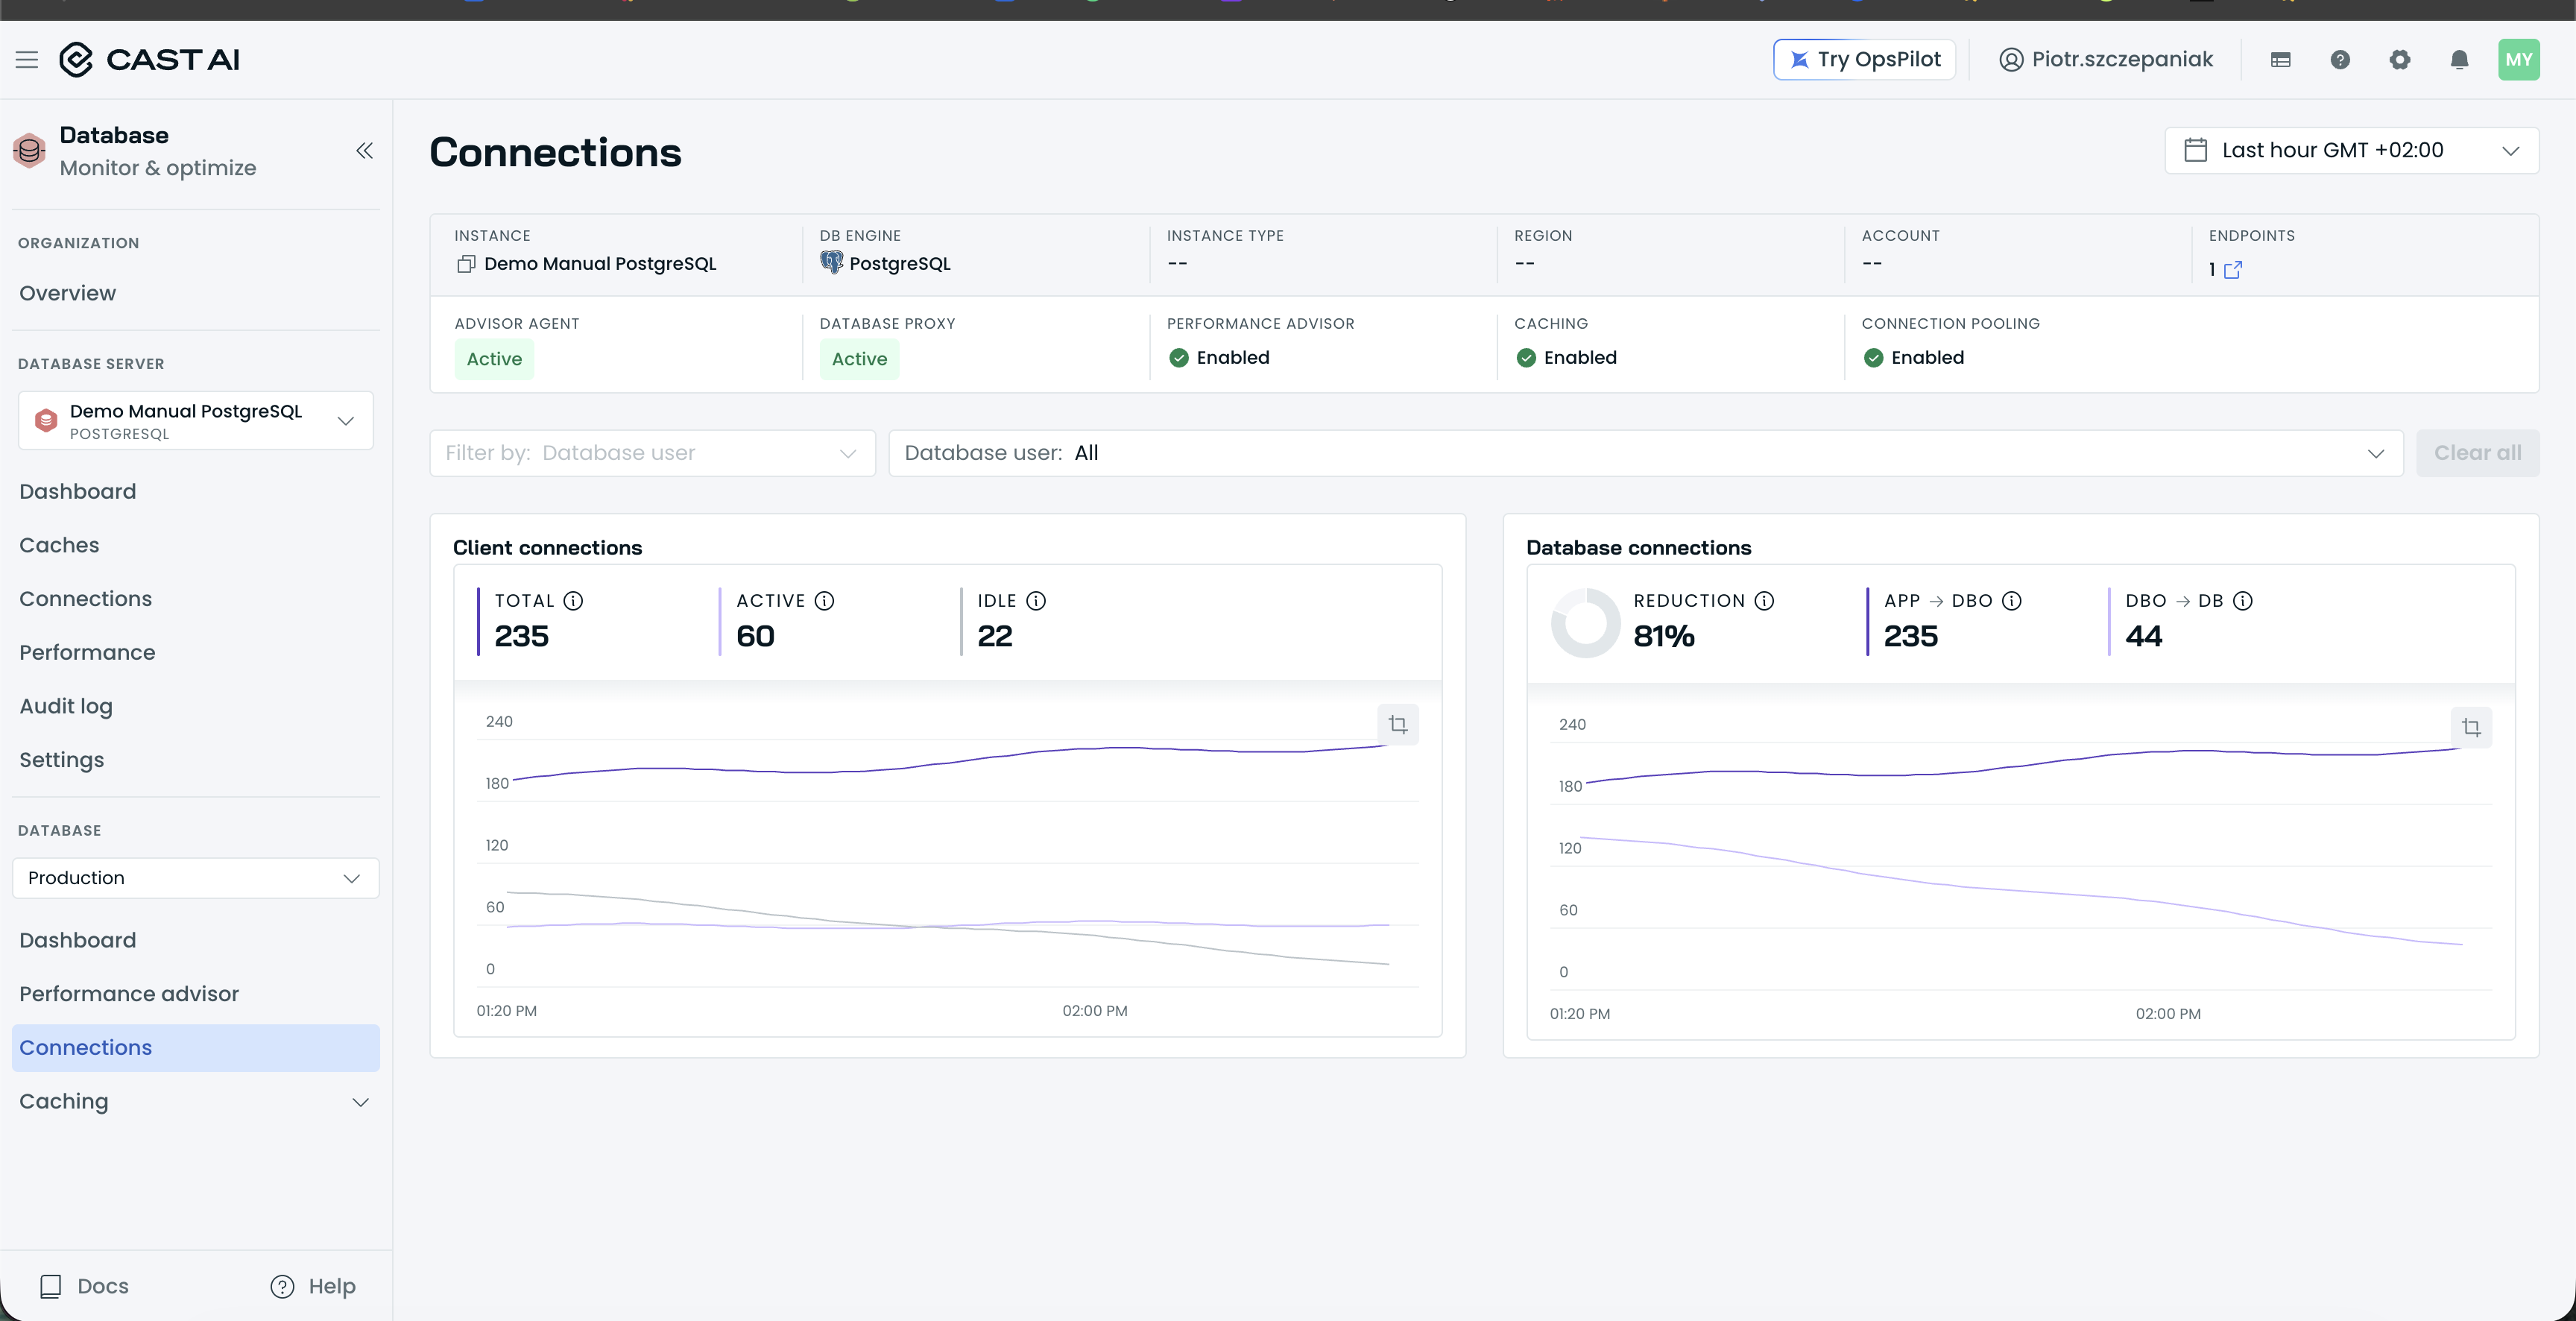
Once the agent is installed and healthy, the status row on every instance page shows ADVISOR AGENT Active, and the instance Settings page shows a Performance advisor card with an Active badge:
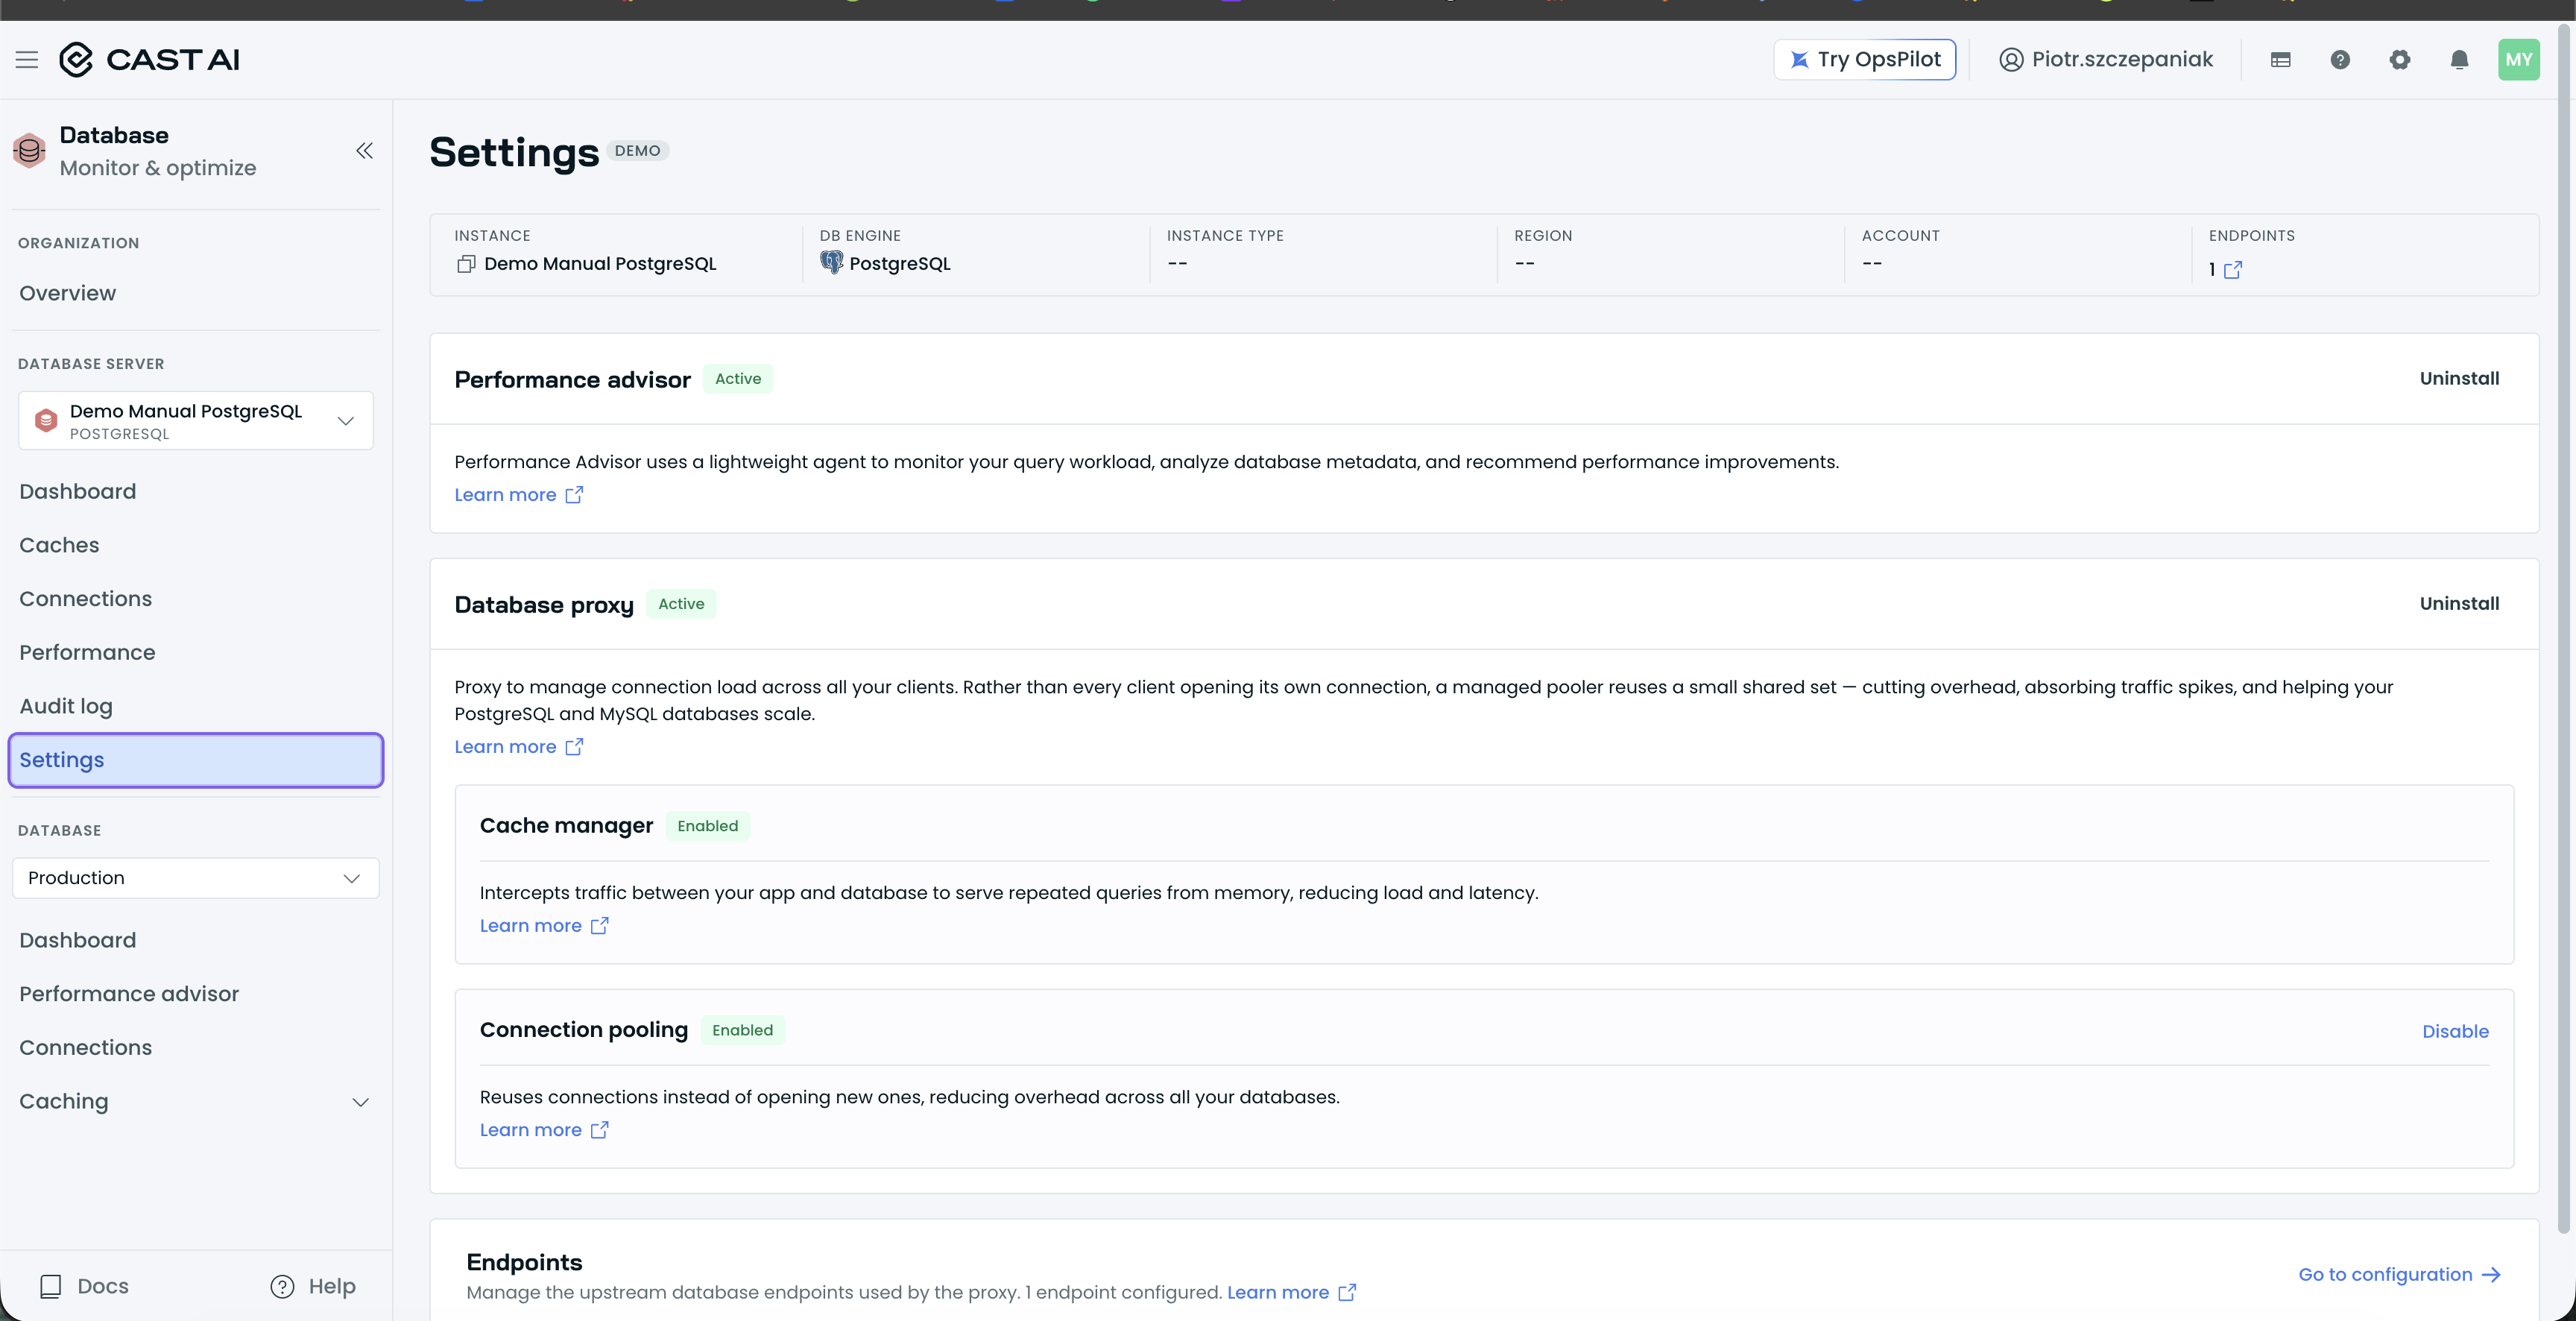
The instance Settings page's Performance advisor card, showing an Active badge once the agent is healthy.
Step 4: Install the agent via Helm
Store credentials in Kubernetes secrets rather than passing them directly to the Helm chart:
kubectl create secret generic castai-db-agent-api-key \
  --namespace castai-db-optimizer \
  --from-literal=API_KEY='your-api-key-here'

kubectl create secret generic castai-db-agent-db-credentials \
  --namespace castai-db-optimizer \
  --from-literal=DATABASE_USERNAME='index_advisor_agent' \
  --from-literal=DATABASE_PASSWORD='your_secure_password_here'
Then add the Cast AI Helm repository and install the agent:
helm repo add castai-helm https://castai.github.io/helm-charts
helm repo update
helm upgrade --install castai-db-agent castai-helm/castai-dbo \
  --namespace castai-db-optimizer --create-namespace \
  --values values.yaml
Verify that the agent is running:
kubectl get pods -n castai-db-optimizerOnce the pods are healthy, recommendations appear in the console within a few minutes.
Managing the agent
To remove the agent, open the instance Settings page and click Uninstall on the Performance advisor card.
Optional connection methods
- Cloud SQL Proxy (GCP): connect through the Cloud SQL instance's Connection Name instead of a direct IP.
- AWS RDS IAM authentication: passwordless authentication via an IAM role bound to the db-agent service account (IRSA), instead of a static username and password. Create the database user with the
rds_iamrole (CREATE USER index_advisor_agent; GRANT rds_iam TO index_advisor_agent;), grant the samepg_read_all_statspermissions as in step 2, enable IAM database authentication on the RDS instance, and give the IAM role therds-db:connectpermission.
Next steps
Updated 3 hours ago