

Manage Enterprise users
Invite users, assign roles, manage access, and configure user groups across your Cast AI Enterprise and its child organizations.
Overview
This guide explains how to manage users across a Cast AI Enterprise. From the Enterprise, you can invite users, assign roles at the Enterprise or child organization level, and manage user groups — all from a single interface. Child organization Owners can also manage users, roles, and user groups within their own organization.
Before you start
- You must have the Enterprise Owner role to invite users, assign roles, and revoke access. Enterprise Viewers can view user lists but cannot make changes.
- Open Settings by selecting the Enterprise in the organization switcher, or by expanding the left sidebar and selecting Settings at the bottom.
- In the View by dropdown at the top of the left sidebar, select the Enterprise.
View Enterprise users
-
In the left sidebar, select Users.
The paginated table displays all users with access to the Enterprise or any of its child organizations, including their authentication method, email, organization tags, and last activity:
Column Description Name User's display name Email User's email address Auth Authentication method (SSO, email/password) Organization Organizations the user has access to, shown as tags Last activity Date of the user's most recent activity 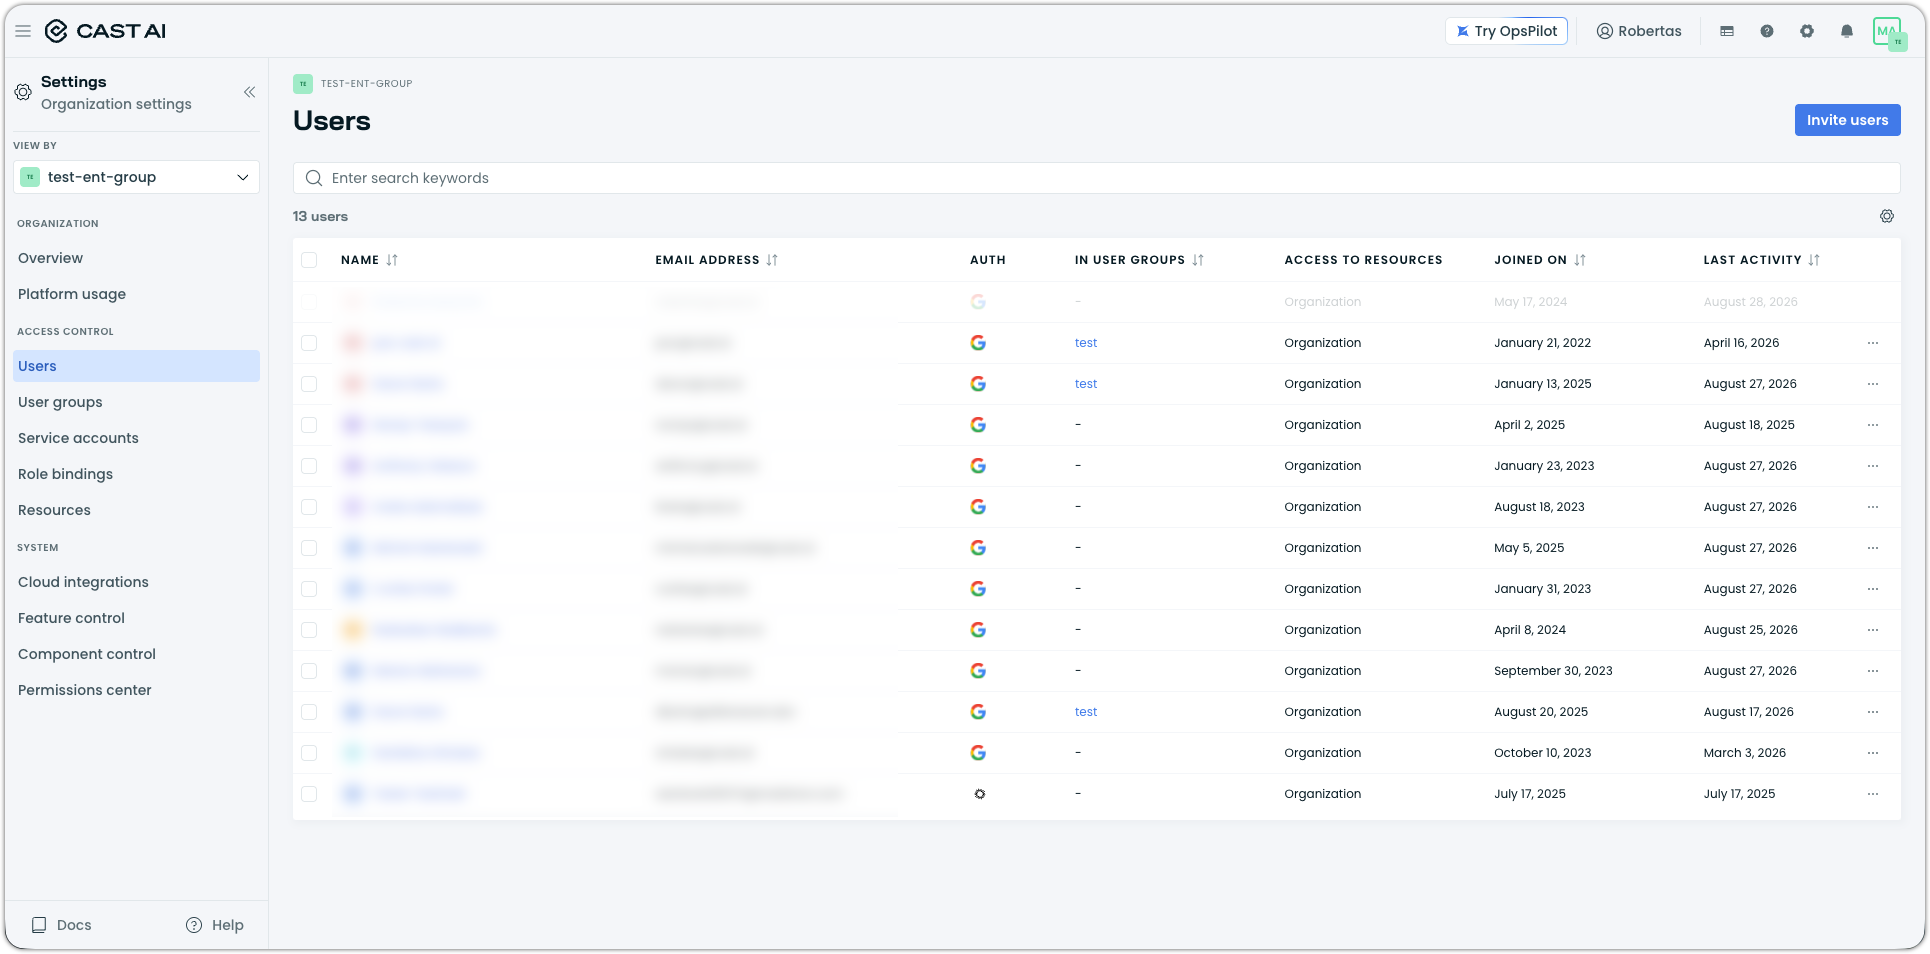
-
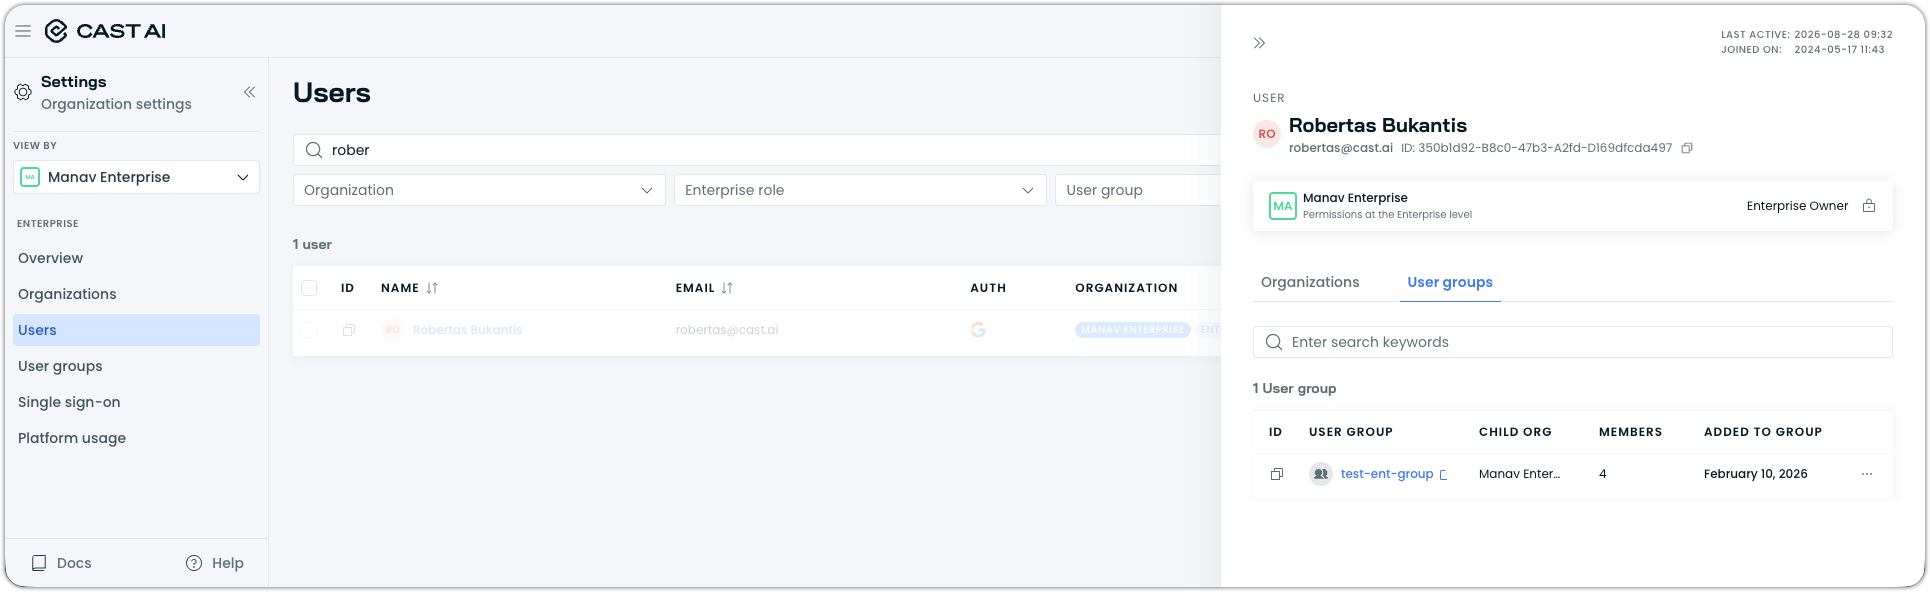
Click a user's name to view their detailed profile, including:
- Roles assigned per child organization
- User groups the user belongs to
Invite users
-
In the left sidebar, select Users.
-
Click Invite users.
-
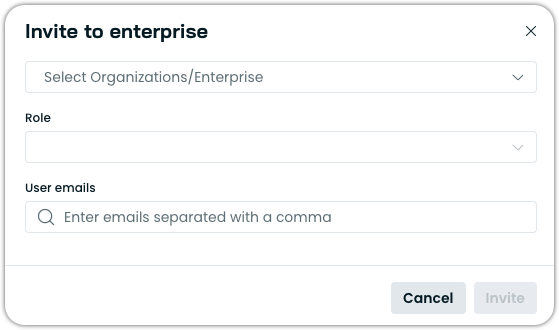
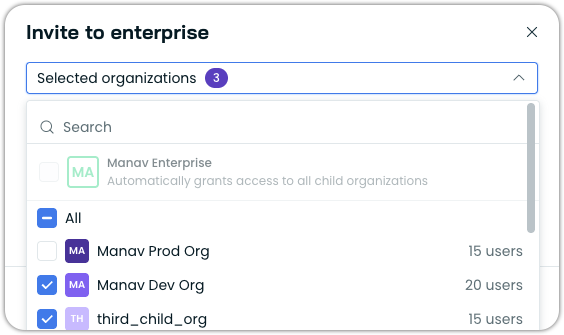
Select the scope for the invitation — either Enterprise or child organization(s):
- Enterprise — grants the user a role that spans the Enterprise and all child organizations. Selecting the Enterprise automatically grants access to all child organizations.
- Child organization(s) — grants the user a role within one or more specific child organizations.
-
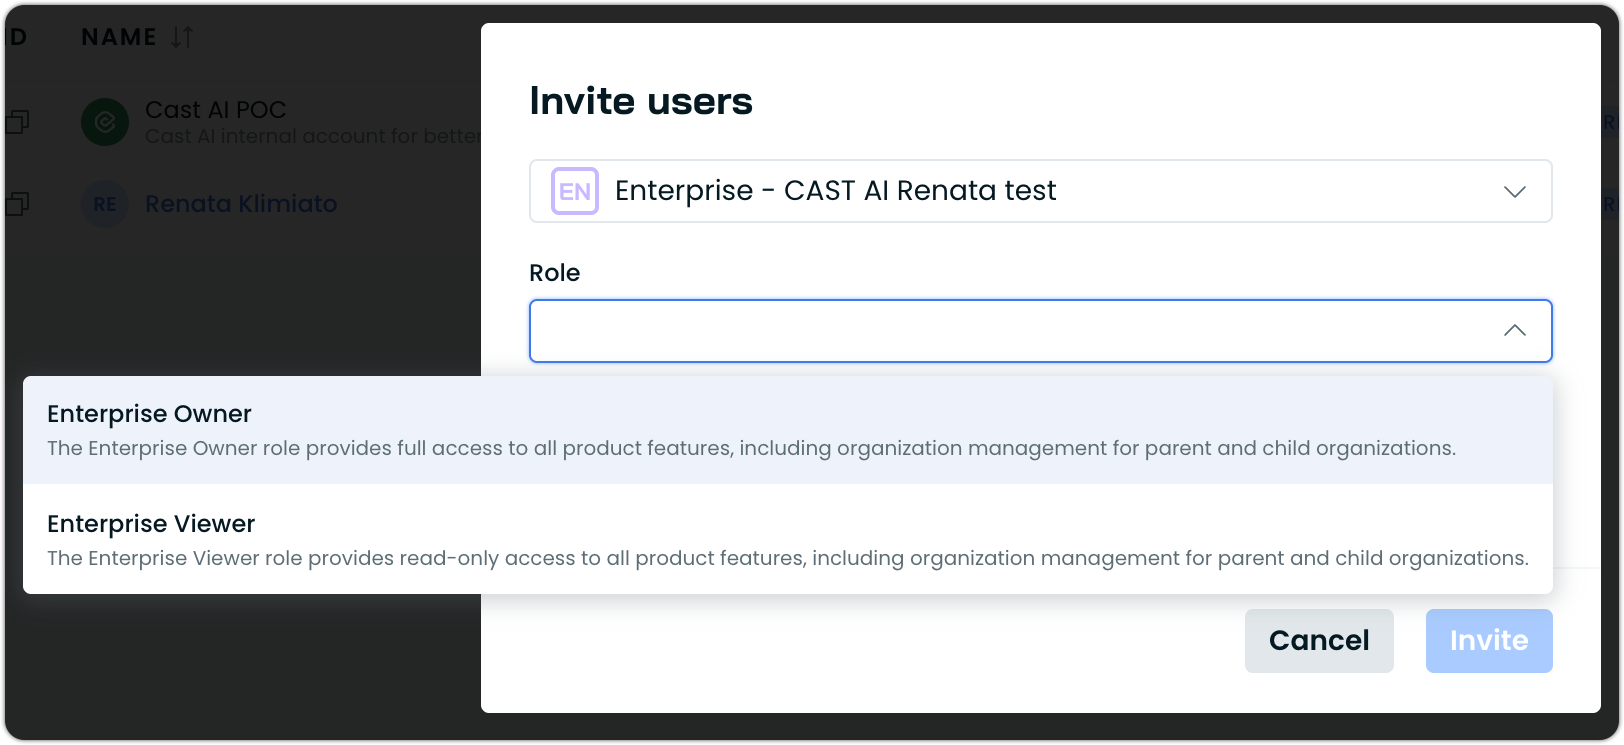
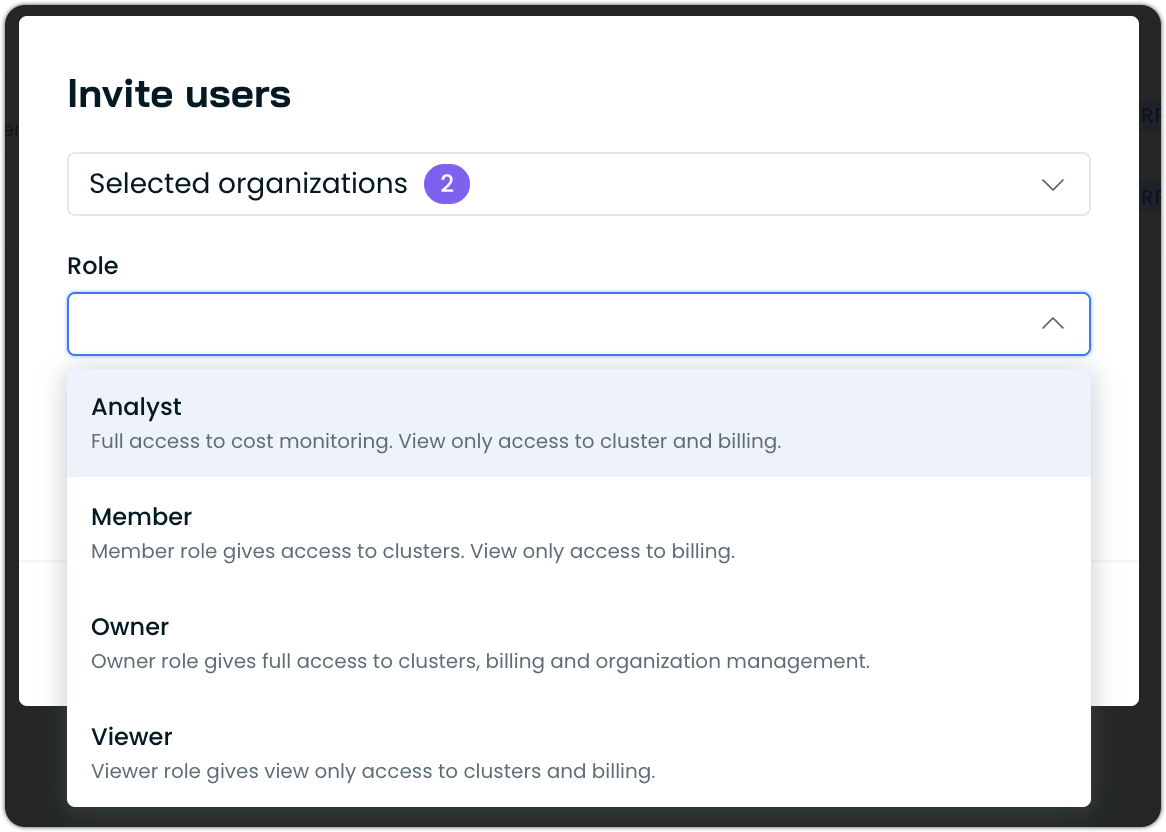
Select the role to assign:
Enterprise roles:
Role Access level Enterprise Owner Full access to all features and organization management for parent and child organizations Enterprise Viewer Read-only access to all features and organization management for parent and child organizations Child organization roles:
Role Access level Owner Full access to clusters, billing, and organization management Member Access to clusters, read-only access to billing Viewer Read-only access to clusters and billing Analyst Full access to cost monitoring, read-only access to clusters and billing
-
Enter the user's email address (or multiple addresses separated by commas).
-
Click Invite.
Cancel or resend invitations
If a user has not yet accepted their invitation, you can cancel or resend it:
-
In the left sidebar, select Users.
-
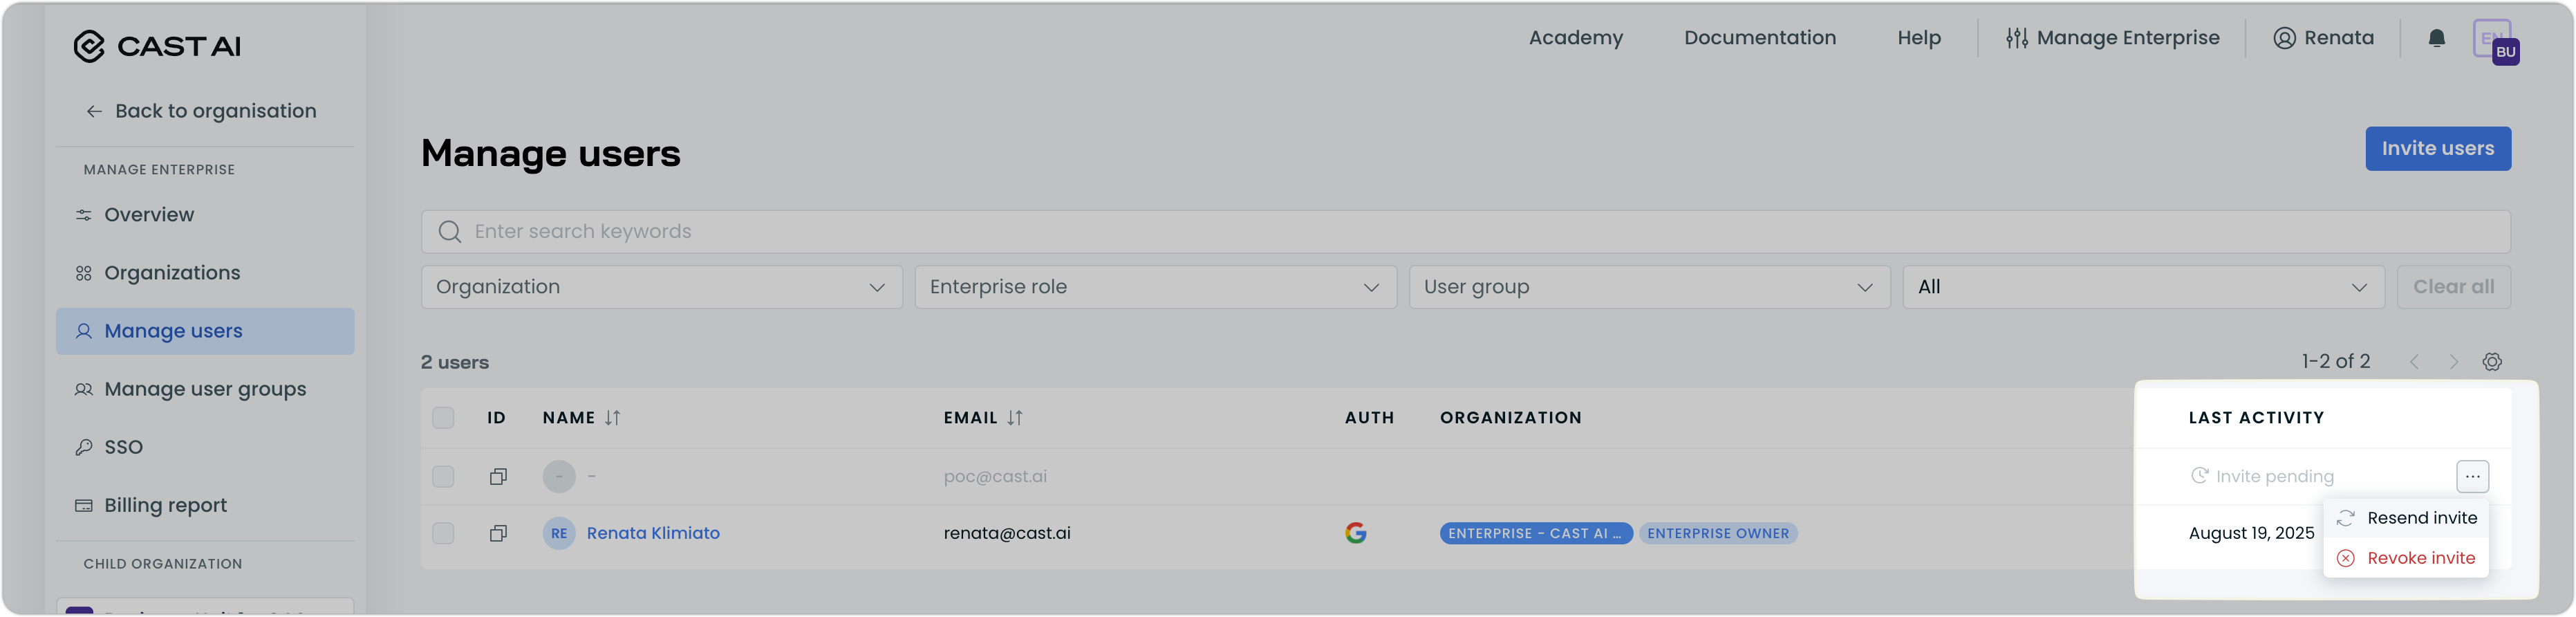
Find the user with a pending invitation.
-
Click Resend invite to send the invitation again, or Cancel invite to revoke the pending invitation.
Revoke Enterprise access
-
In the left sidebar, select Users.
-
Click Remove access next to the user whose access you want to revoke.
-
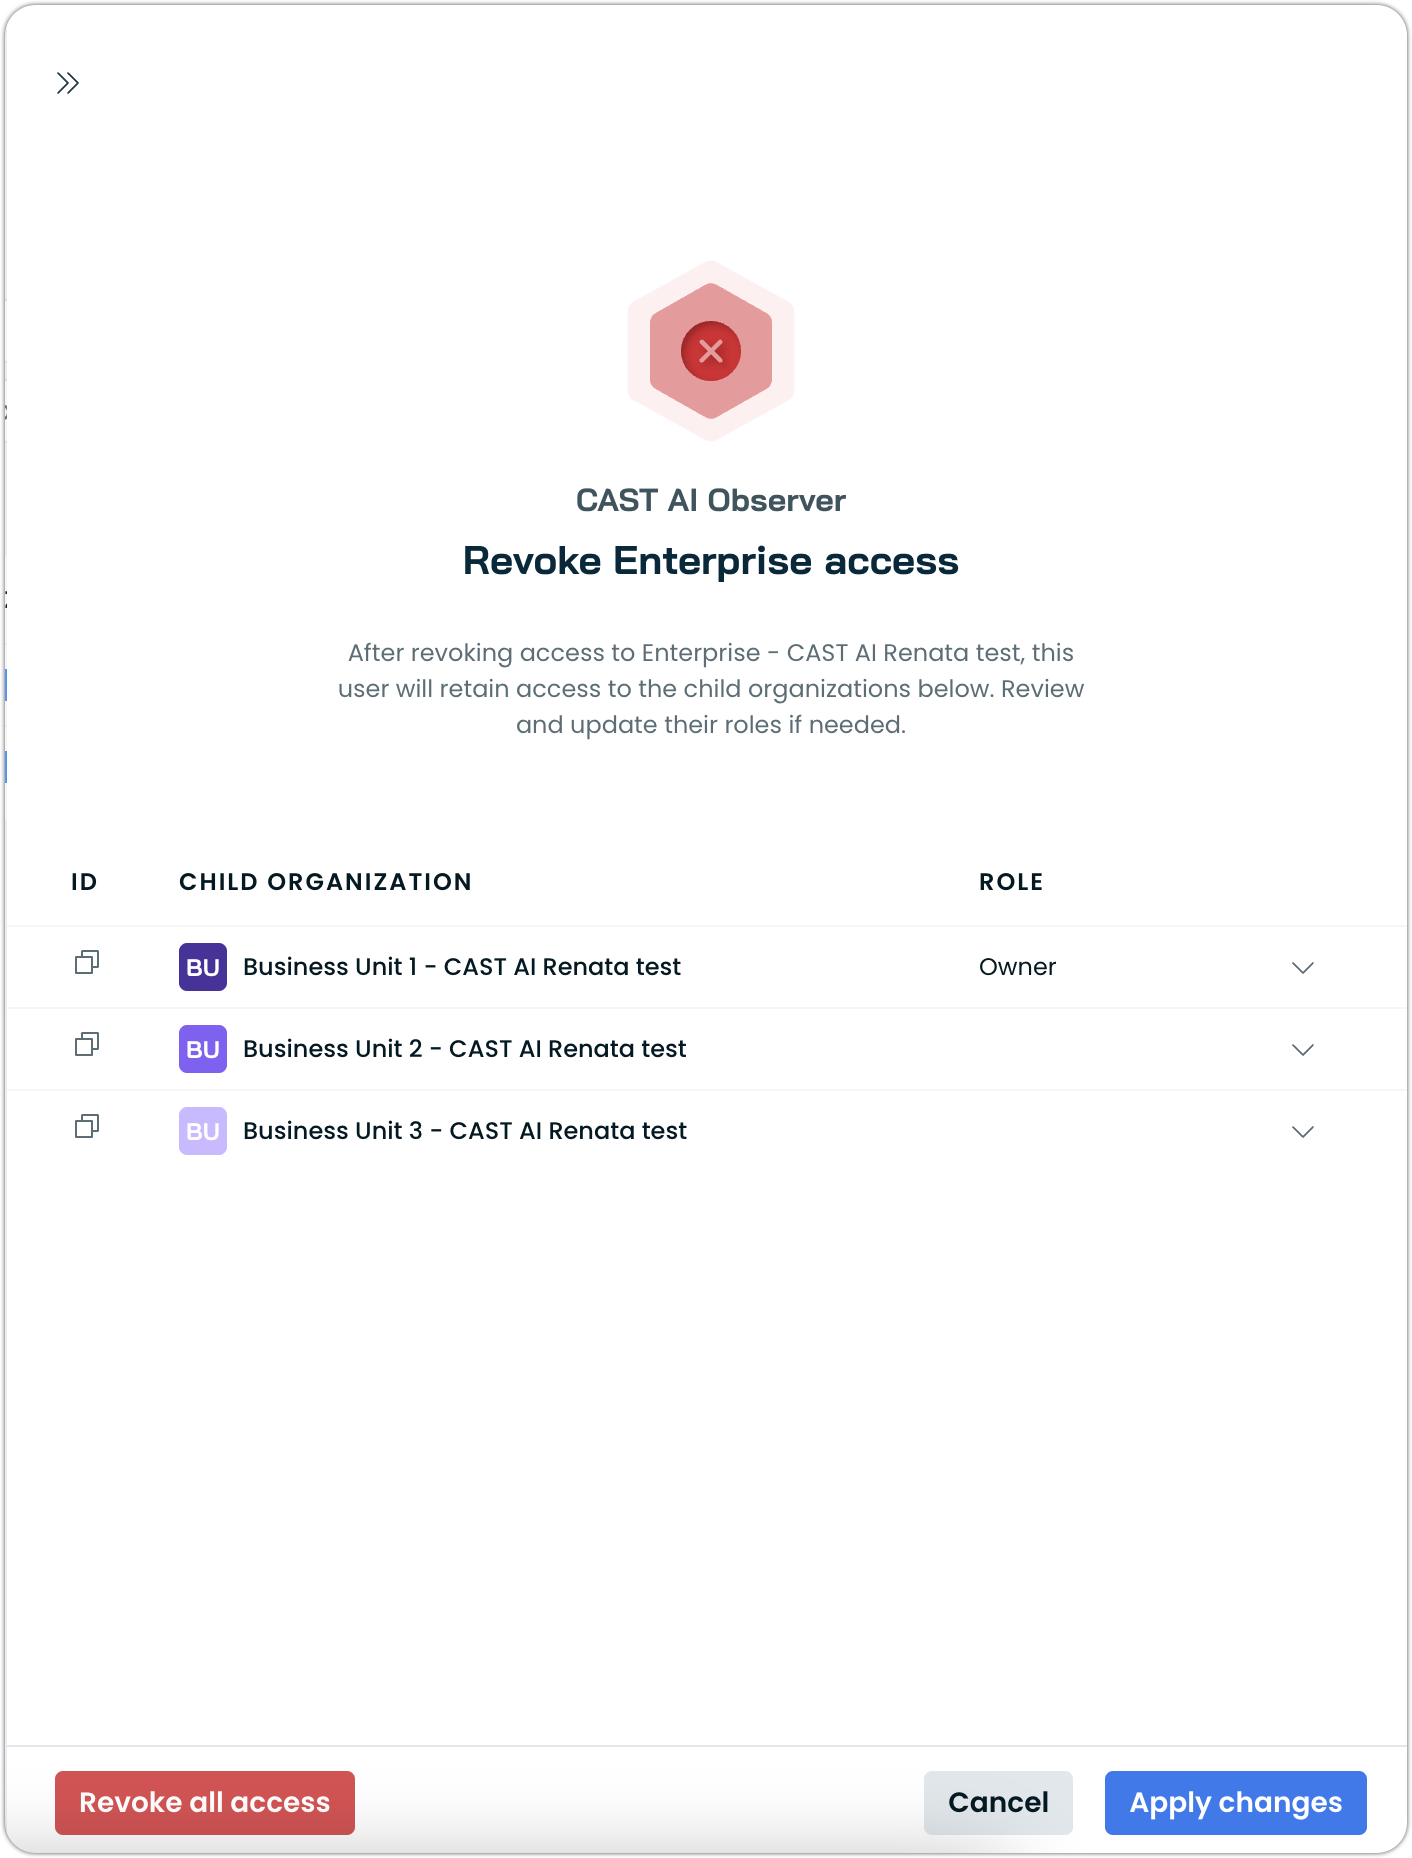
Choose one of two options:
- Revoke all access — removes the user's access from the Enterprise and all child organizations. Use the button at the bottom-left corner of the dialog.
- Revoke Enterprise access only — removes Enterprise-level roles while allowing you to set child-organization-specific roles. Select new roles from the dropdown for each child organization, then click Apply changes. Organizations where no role is displayed mean the user does not currently have an organization-level role assigned.
Manage user groups
User groups let you define access policies for sets of users with similar needs. In an Enterprise, user groups can be scoped to the Enterprise level or to individual child organizations.
View user groups
-
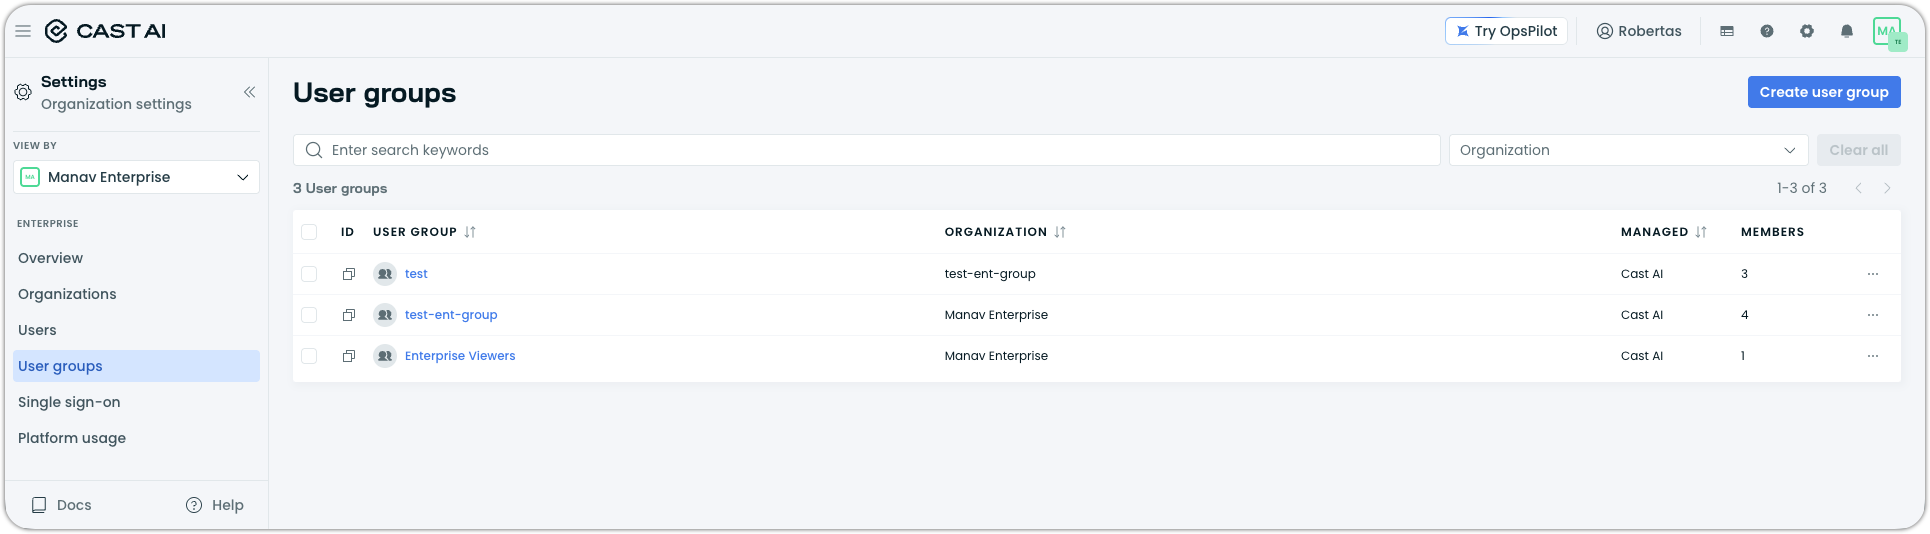
In the left sidebar, select User groups.
The table displays all user groups with their associated organization and member count.
Create a user group
-
In the left sidebar, select User groups.
-
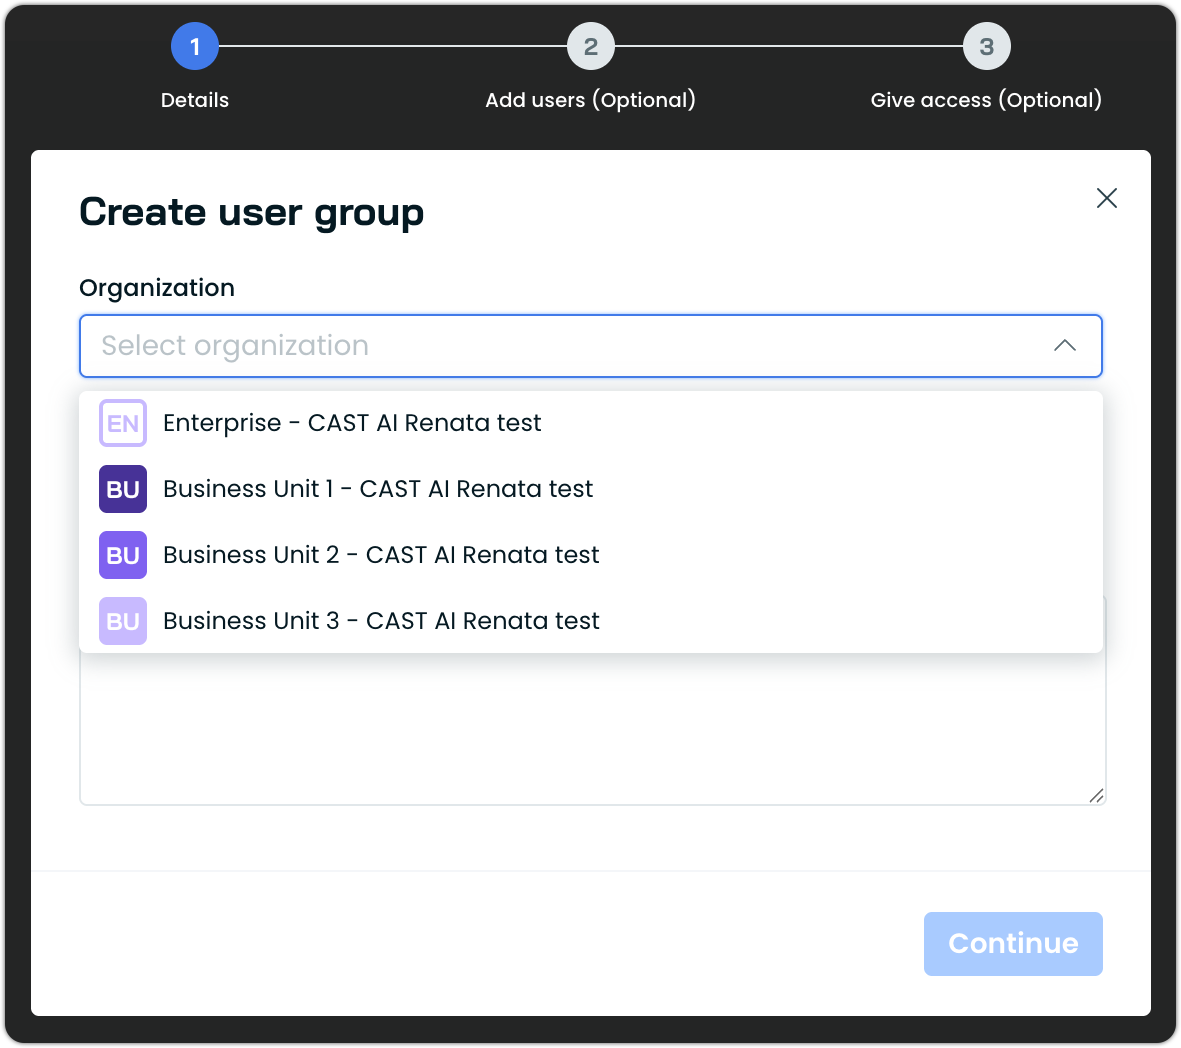
Click Create user group.
-
Select the organization scope — the Enterprise or a specific child organization.
-
Configure the group name, role bindings, and optionally add users.
-
Click Create.
Edit a user group
-
In the left sidebar, select User groups.
-
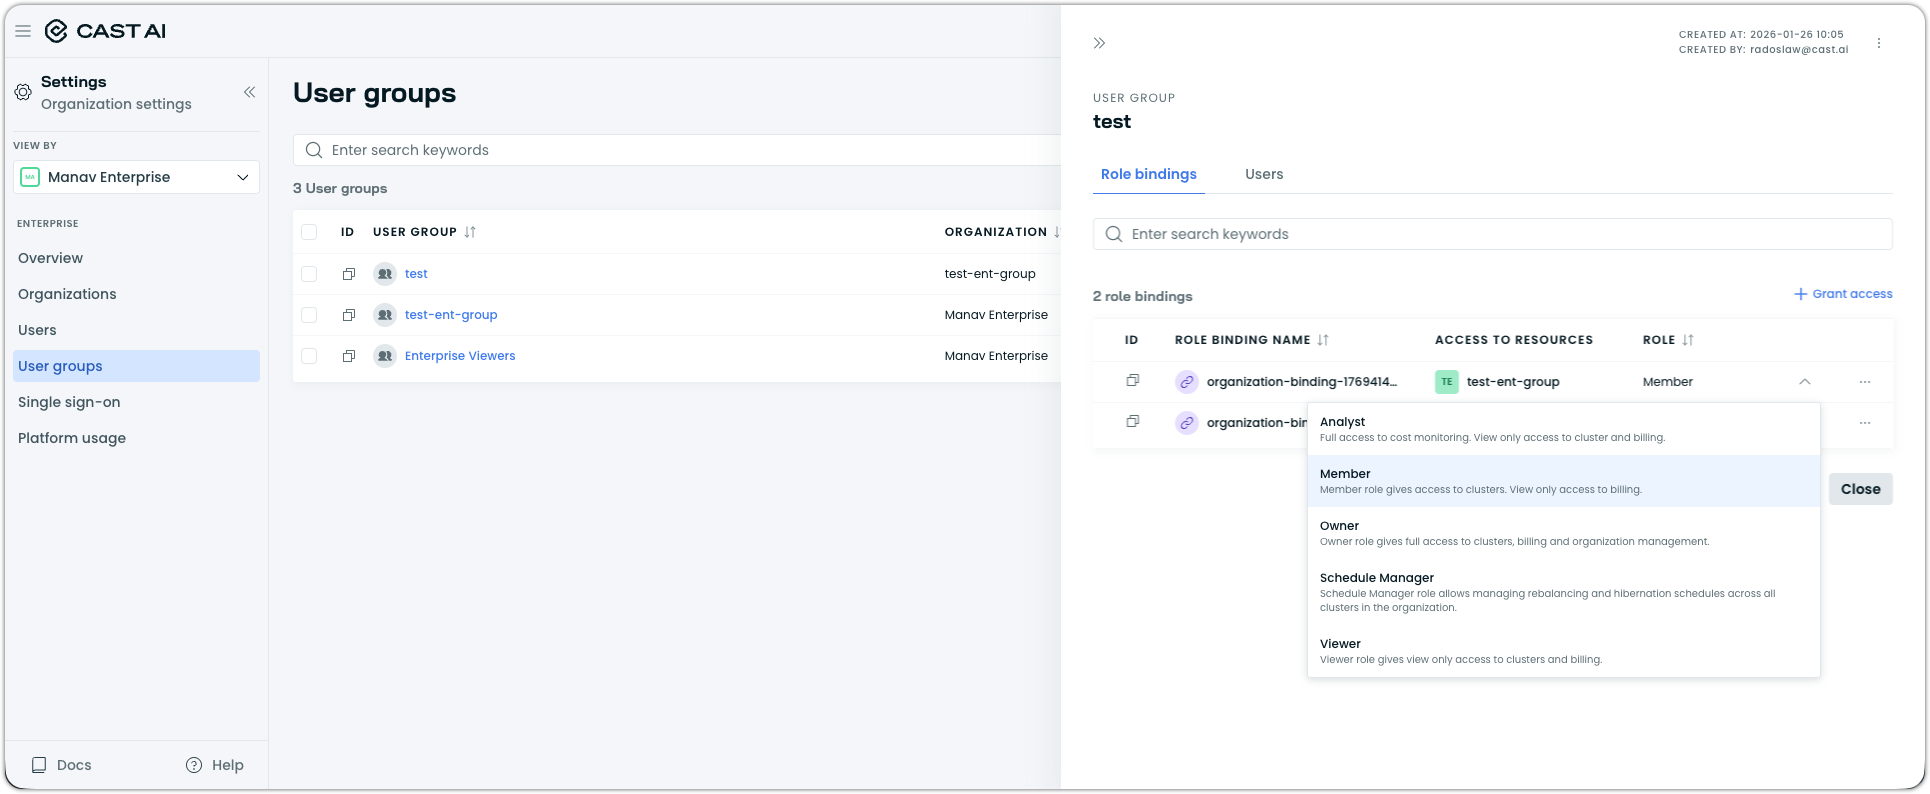
Click the user group name to open its details drawer.
The drawer shows:
- Role bindings — the roles and resource scopes assigned to the group.
- Organization — the organization the group is scoped to.
- Users — the users assigned to the group. You can add or remove users from this tab.
-
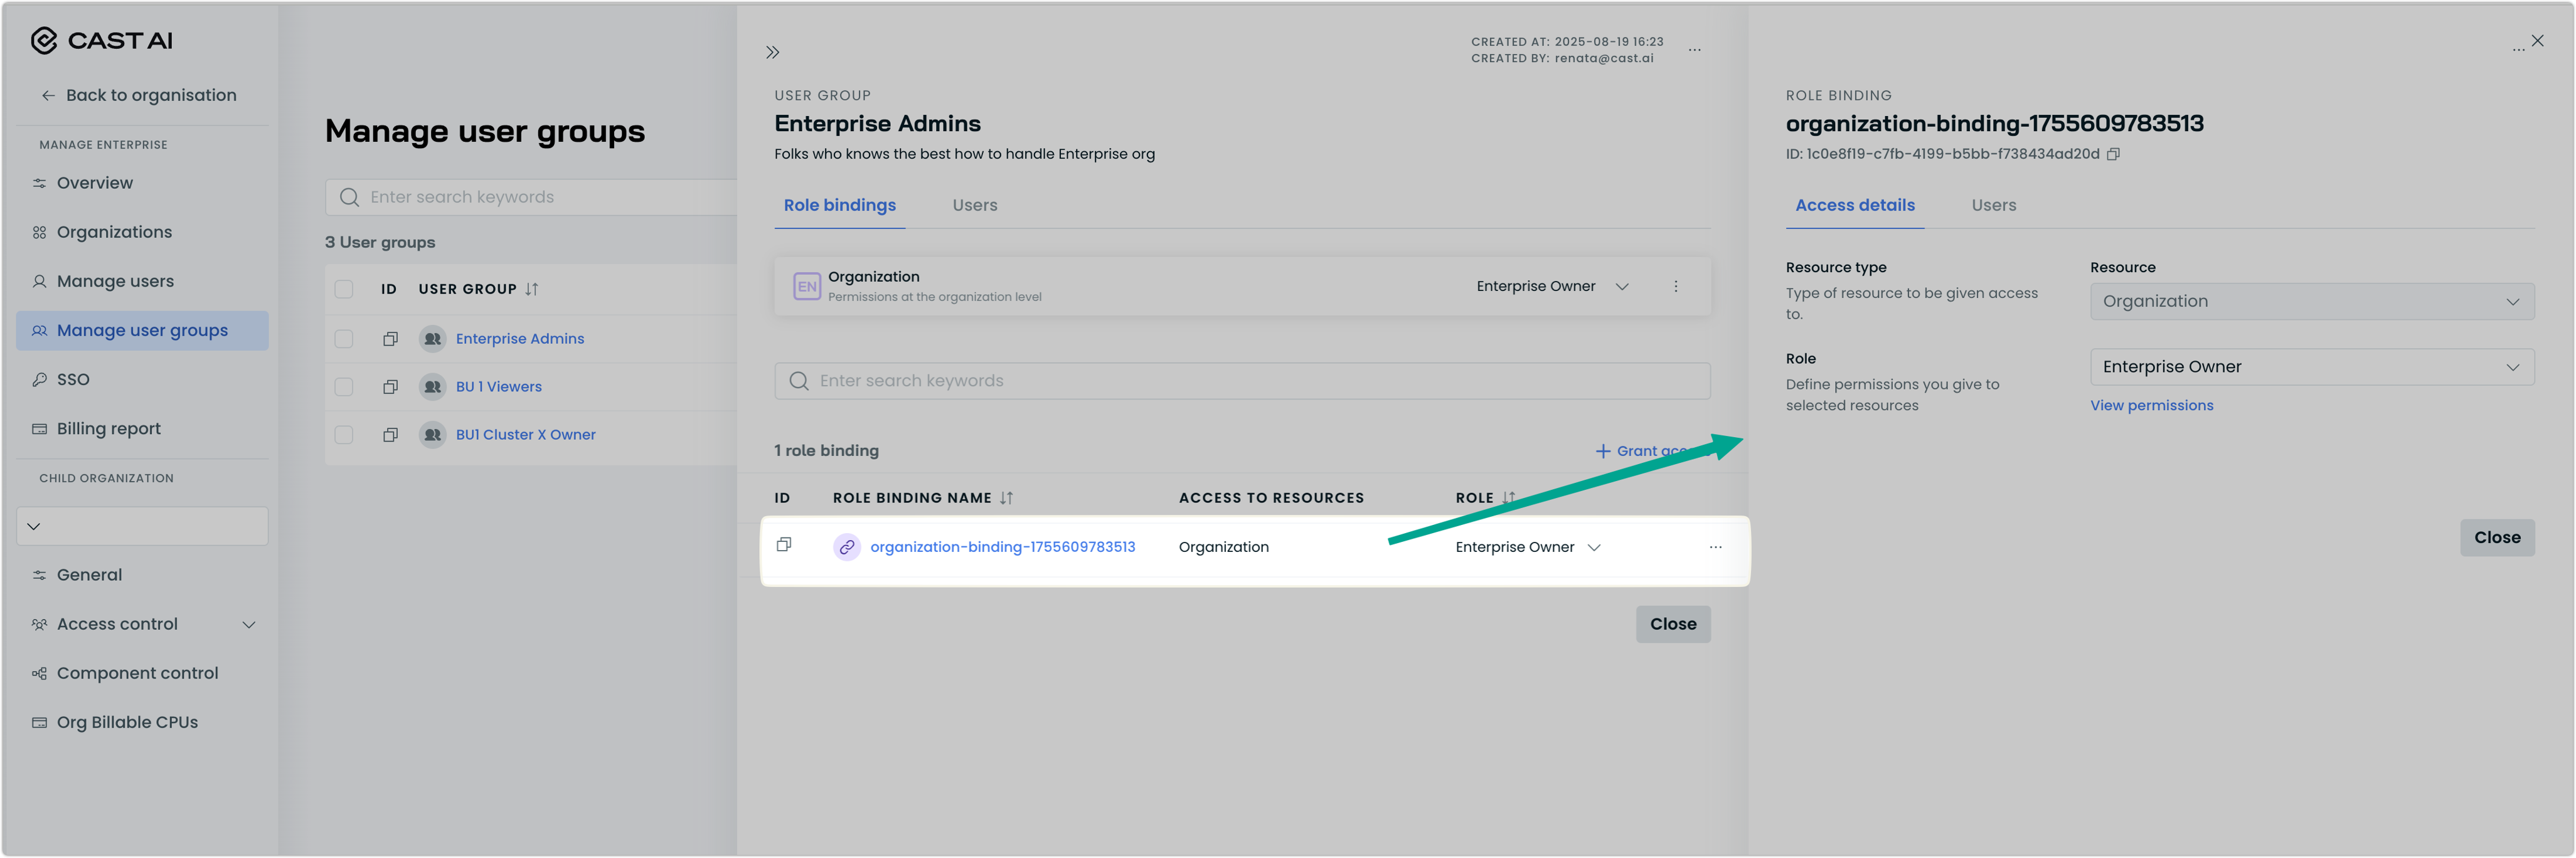
Click a role binding row to view its details, including the resource type, scope, and assigned role.
For more details on user group configuration and management, see User Groups.
See also
Updated last month